Email campaigns are an essential tool for engaging users and driving interactions. XpoBay’s email marketing features make it easy to create, personalise, and monitor your email campaigns. Follow this step-by-step guide to create and send your email campaigns effectively.
Step 1: Access the Email Campaigns feature
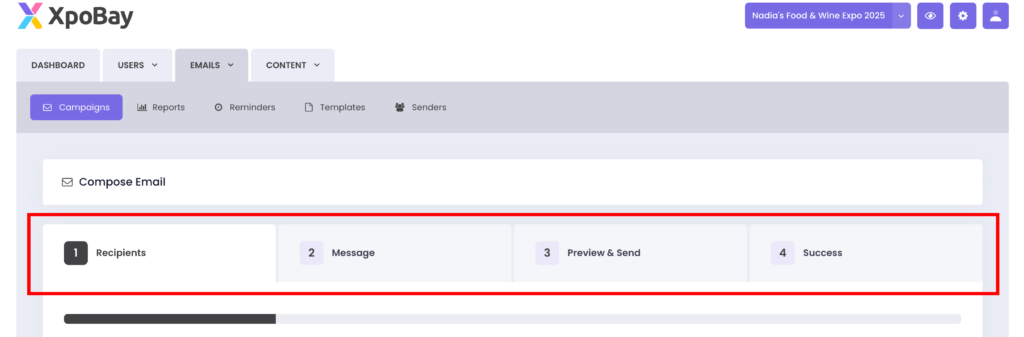
1. Navigate to the Emails section and select Campaigns.
2. Click Compose Email to start crafting your email campaign.
Step 2: Complete the Four-Step Workflow
The email campaign creation process involves four sections: Recipients, Message, Preview and Send, and Success.
1. Recipients
• Choose your recipients using either predefined filters or manual selection.
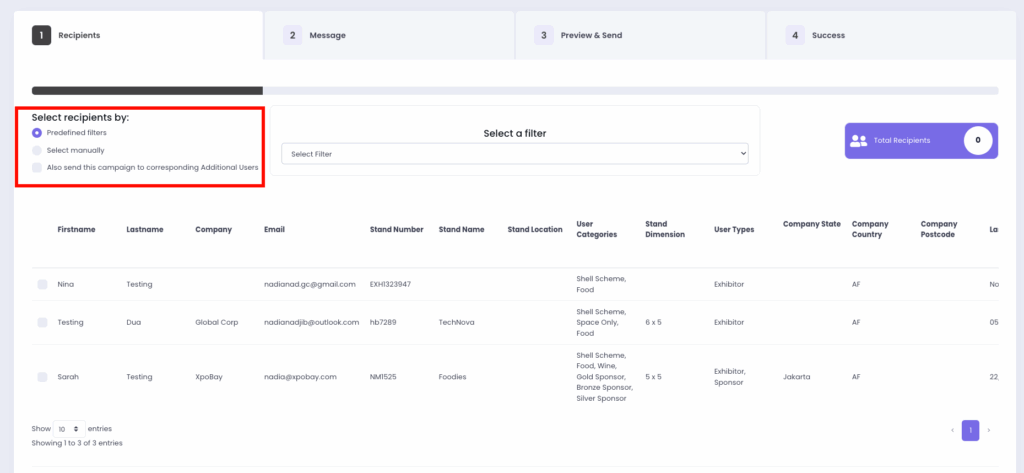
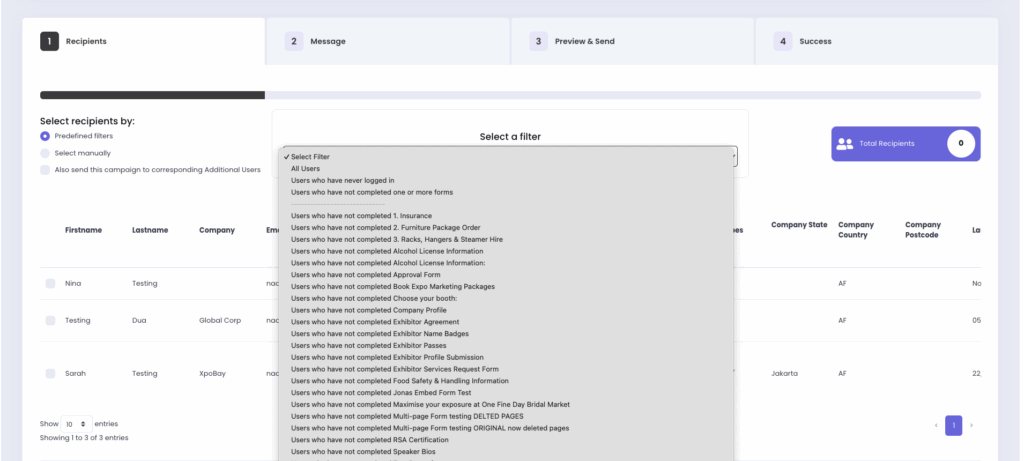
• If you select Predefined Filters, use the Select Filter dropdown to choose from system-generated segments. This lets you quickly target the right group without manually searching or selecting users.
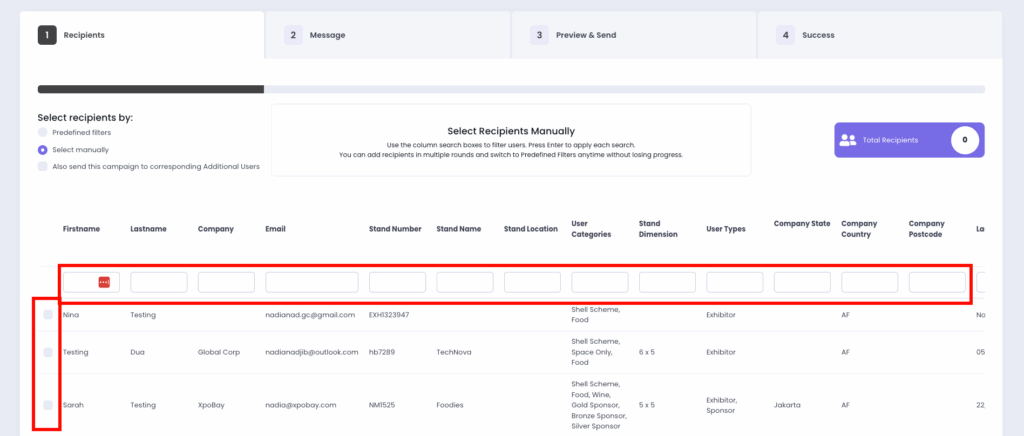
• Alternatively, if you select Manual Selection, you can tick users directly from the list. You can also use the search boxes under each column (e.g. name, email, stand number) to quickly filter and find the users you want to include.
• Once your recipients are selected, click Next.
2. Message
• Email Subject: Write an engaging subject line.
• Templates: Select an existing email template, create a new one, or import from your previous events.
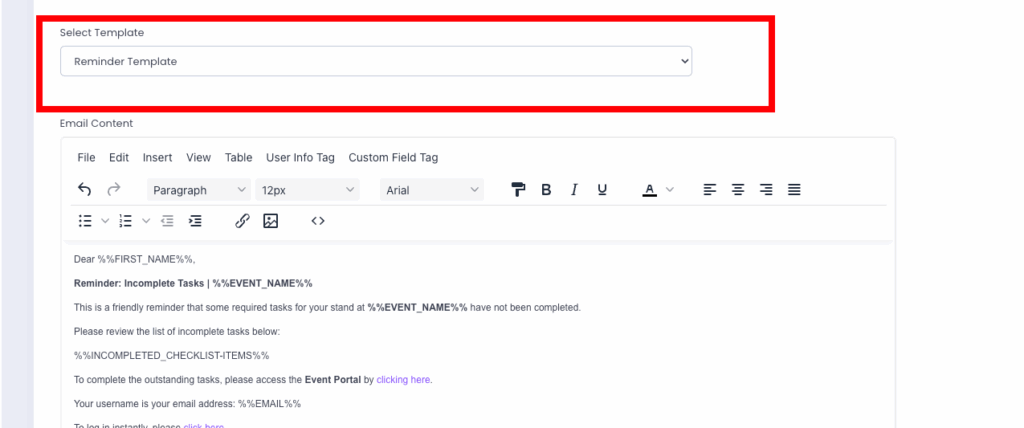
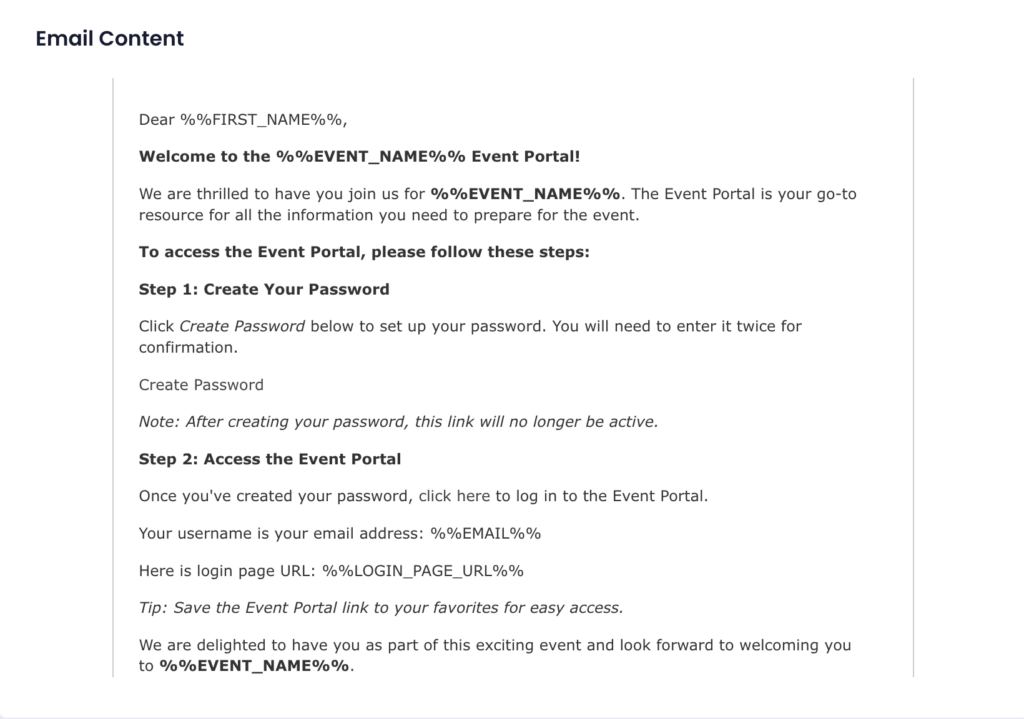
• Email Content: Write the email body. Use dynamic tags (e.g. %%FIRST_NAME%%, %%COMPANY_NAME%%).
• Sender Name: Specify the name to appear as the sender.
• Reply-To Email: Define an email address for recipients to reply to.
• Once done, proceed by clicking Next.
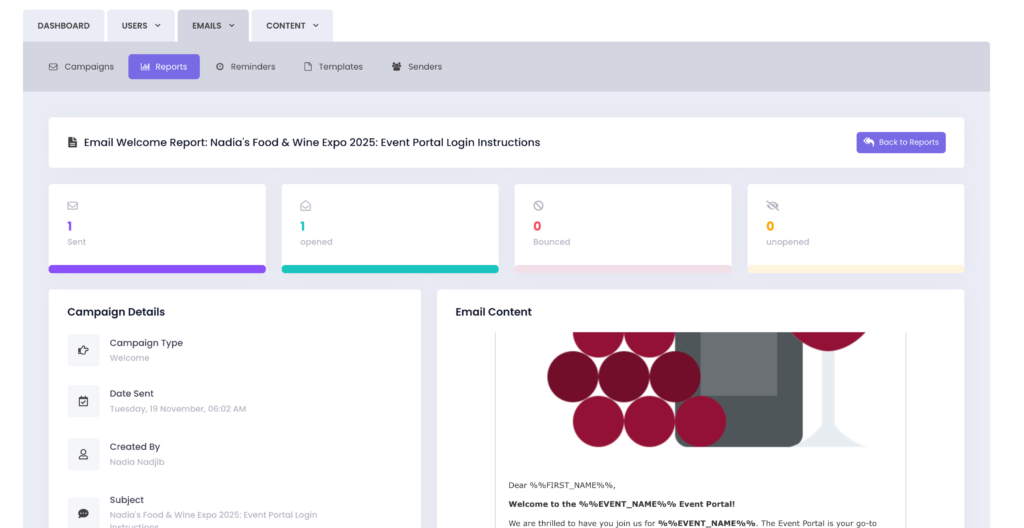
4. Success
• After sending your campaign, monitor its performance in the Reports section. You can track:
• Sent emails.
• Bounced emails.
• Opened emails.
Use the three-dots (⋯) icon on the reports page to view or download individual emails.
Pro Tips for Effective Campaigns
• Segmentation: Targeting specific user groups improves engagement rates.
• Personalisation: Use dynamic tags to add a personal touch.
• Scheduling: Plan campaigns to reach users at optimal times for better responses.
• Templates: Save time by using pre-designed templates that align with your event.
Campaigns for Roadshow Events
If you’re managing a roadshow-style event, you can easily target users based on their assigned cities when sending a campaign.
When creating your campaign, use the Filter Users dropdown to select a specific roadshow city – for example: Users who belong to Roadshow City MELBOURNE.
This ensures your email only reaches users participating in that city.
You can also use the search field under the Roadshow City column to filter users manually and select them from the results.
