Help modals are an excellent way to provide users with immediate assistance without requiring them to navigate away from the current page.
They are designed to improve the user experience by offering quick, contextual help.

How to Create a Help Modal
1. Navigate to Content > Help Modals in the XpoBay admin panel.
2. Click Add Help Modal and give your modal a descriptive name to reflect its purpose.
3. Select the specific page where the modal should appear.
4. Choose Modal Size. Options include Small, Large, Extra Large, or Default, depending on your content needs.
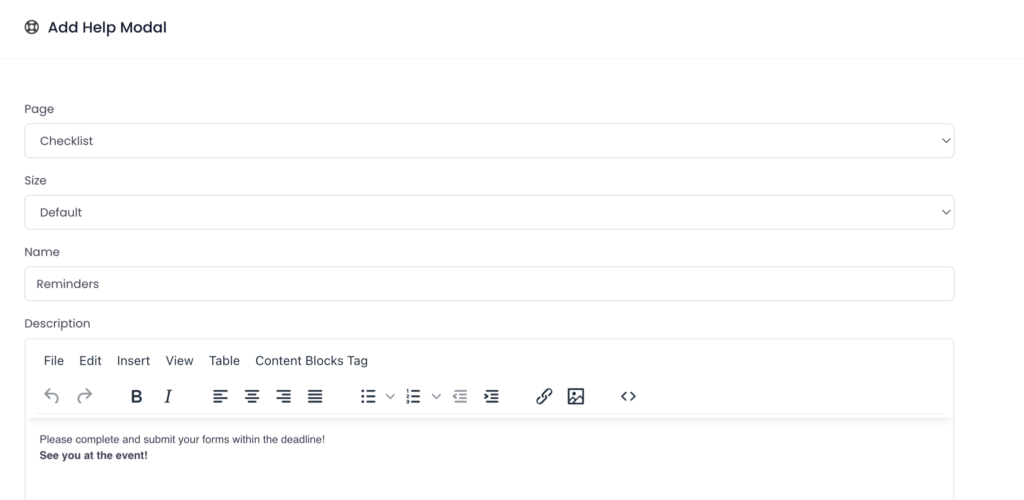
Customising Your Modal
1. Add Content
– Enter a clear, concise message.
– Include images, videos, or links if necessary.
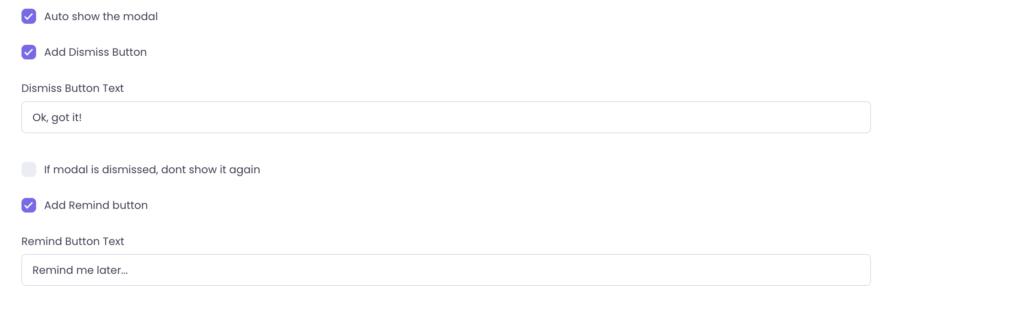
2. Button Options
– Set button labels like “Close” or “OK, Got it.”
– Add a Remind Me Later button for users to revisit the modal.
3. Settings
– Enable automatic pop-ups for specific user actions.
– Allow or restrict the modal from reappearing after being dismissed.
Targeting the Right Users
Use User Types and User Categories to control who sees the modal. This ensures users only view content relevant to their role or participation.
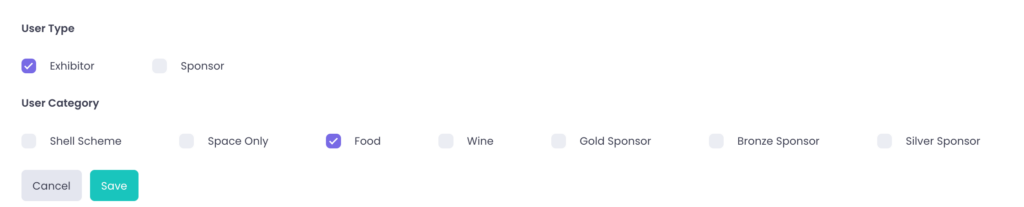
Before going live, save your changes and use the Portal Preview to check how the modal looks to users.
Best Practices for Using Help Modals
– Be Concise: Avoid overwhelming users with too much text.
– Be Relevant: Ensure the modal content addresses user needs.
– Use Multimedia: Add images or videos to improve engagement (if needed).
– Don’t Overuse: Limit modal usage to avoid frustrating users.