The Custom Banner feature in XpoBay enables you to design banners, IDs, and other customised visuals tailored to your event needs. This guide provides a step-by-step introduction to help you get started.
Accessing Custom Banners
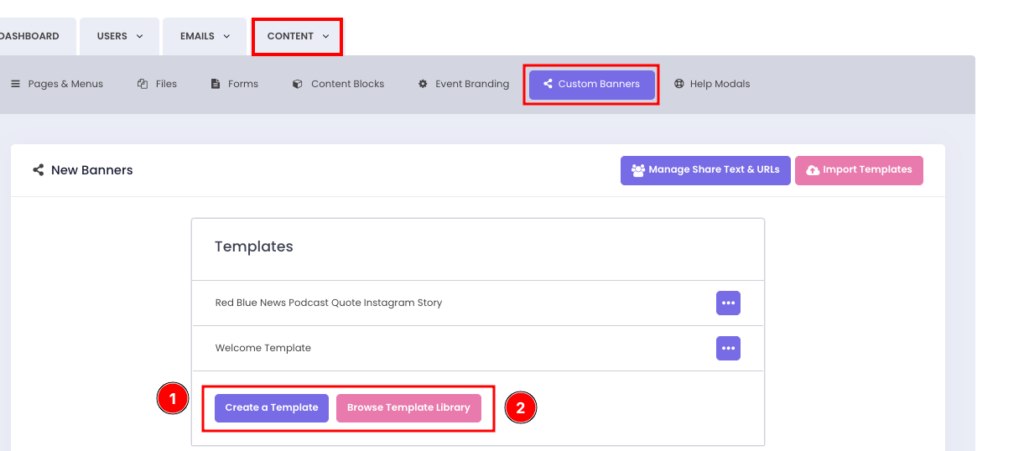
1. Navigate to Content from the main menu.
2. Select Custom Banner.
Creating a Custom Banner
You can create a custom banner in two ways:
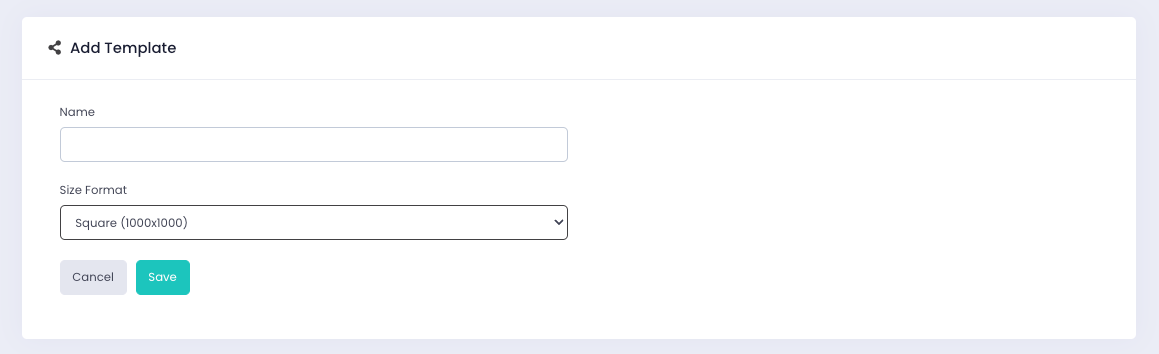
1. From Scratch
• Open a blank design canvas.
• Begin designing with full creative control.
2. Using a Template
• Import a banner template from a previous event or choose one from the Template Library.
• In the Template Library, filter templates by Category, Type, or Style to find the perfect design.
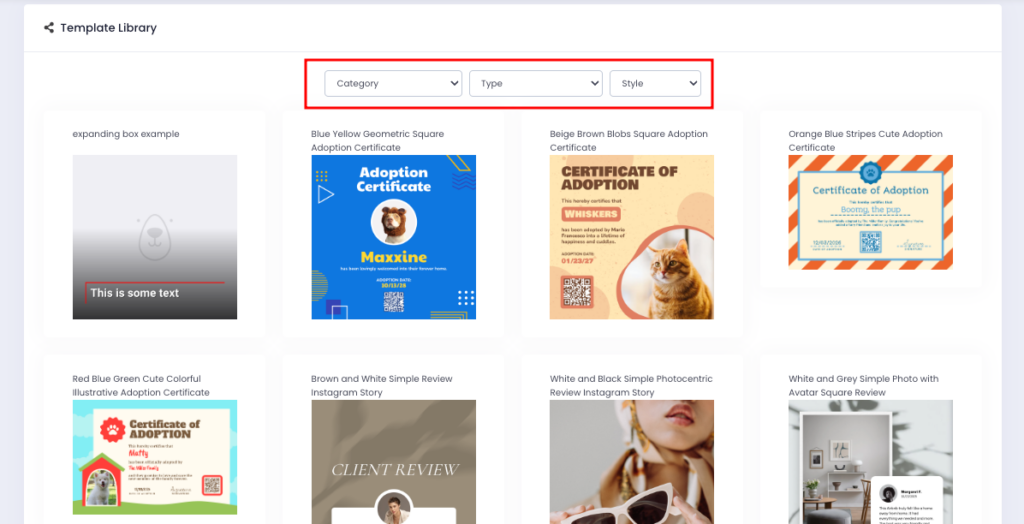
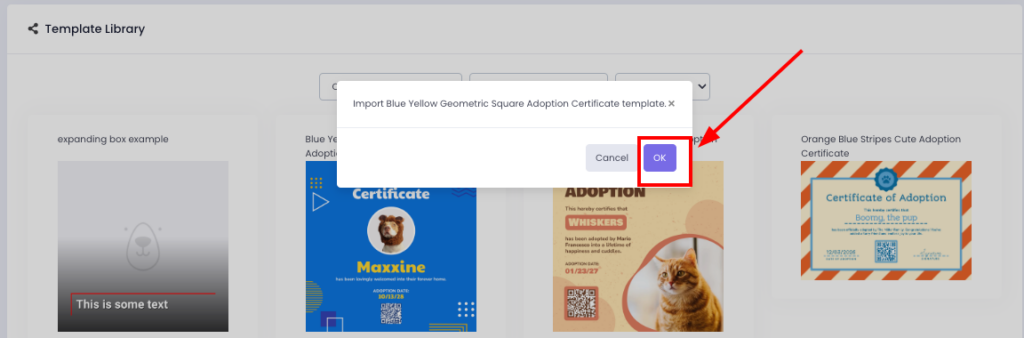
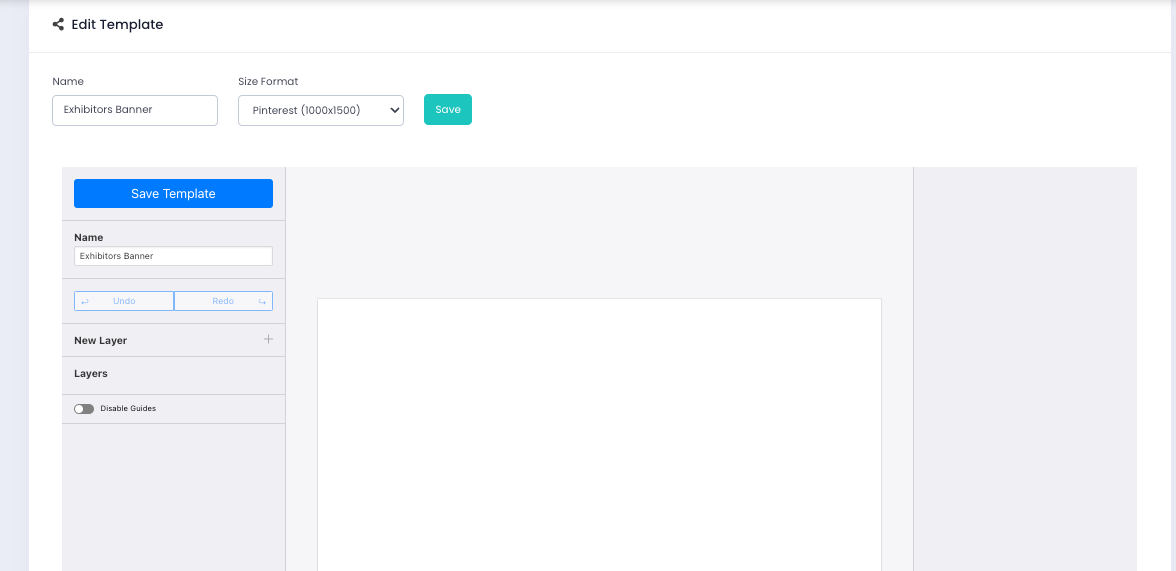
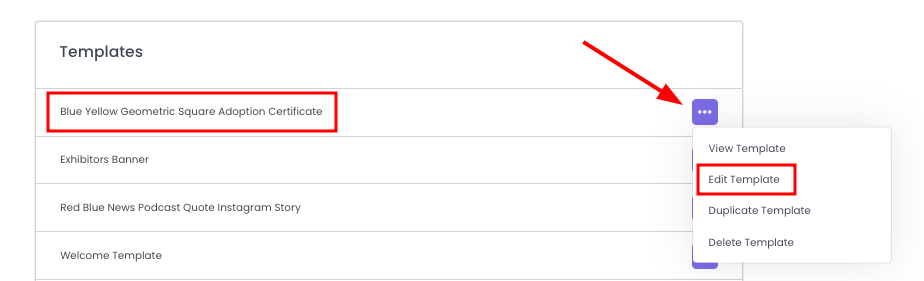
• Once selected, the template is added to your list for editing.
Edit the template in the Template Editor, which uses a layer system similar to Adobe Photoshop, offering precise and flexible design options.
Note: It’s important to ensure that your banner templates are created or reviewed by an experienced professional graphic designer for the best results.
How Many Templates Can You Create?
There is no limit to the number of templates you can create.
You can design as many as you need for your event or project, giving you complete creative freedom.
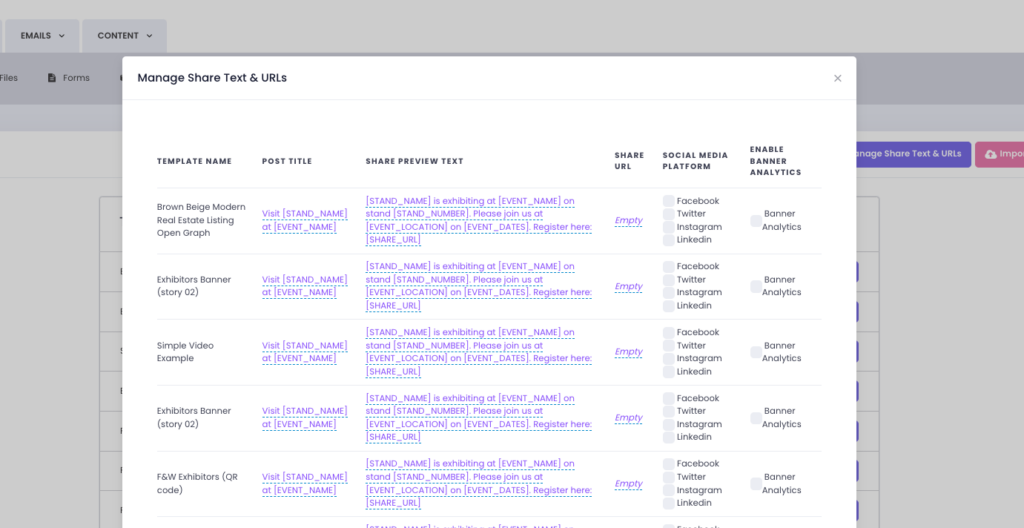
Social Sharing for Banners
The Social Sharing feature for banners is now fully active and available for use. By configuring your share text and URLs, you can make your banners ready for sharing on platforms like Facebook, LinkedIn, and Twitter.

Sharing and Testing
Once your banner has been created and configured:
1. Test sharing it across relevant social platforms to ensure the Share Text and URLs display correctly.
2. Make adjustments as needed in Manage Share Text & URLs.