Event branding lets you personalise your event pages to create a professional and cohesive look. You can customise logos, banners, colours, and fonts to match your brand and make your event stand out.
Accessing Event Branding
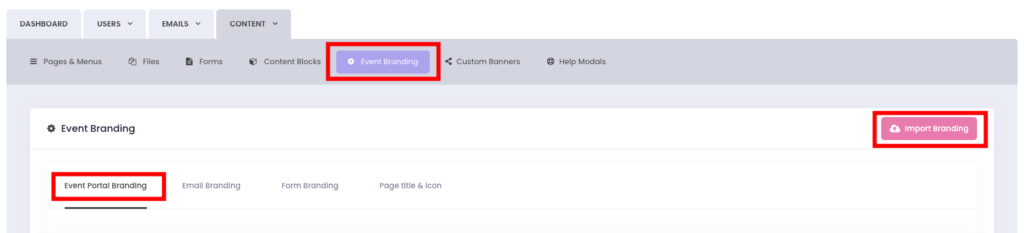
To customise your event portal branding:
1. Navigate to Content.
2. Click on Event Branding.
3. Select Event Portal Branding.
Note: If you’ve hosted events before, you can import your branding from previous events for quicker setup.
Customisation Options
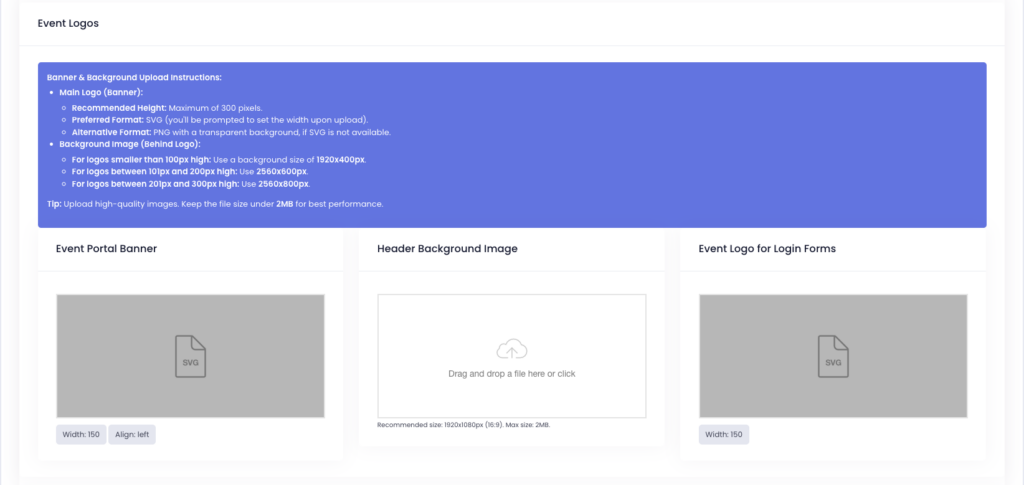
You can upload the following types of logos:
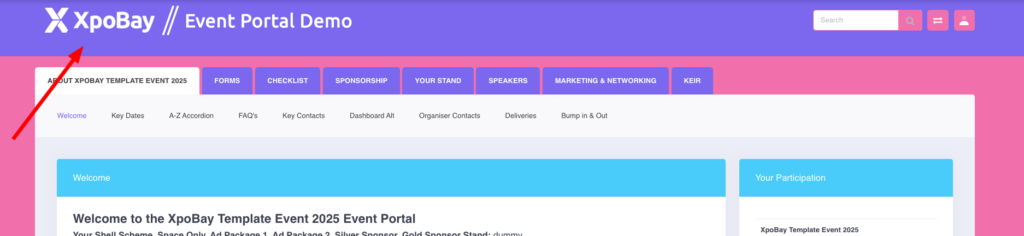
• Event Logo: A primary logo that represents your event across pages.
• Header Background Image: A background image placed behind the logo.

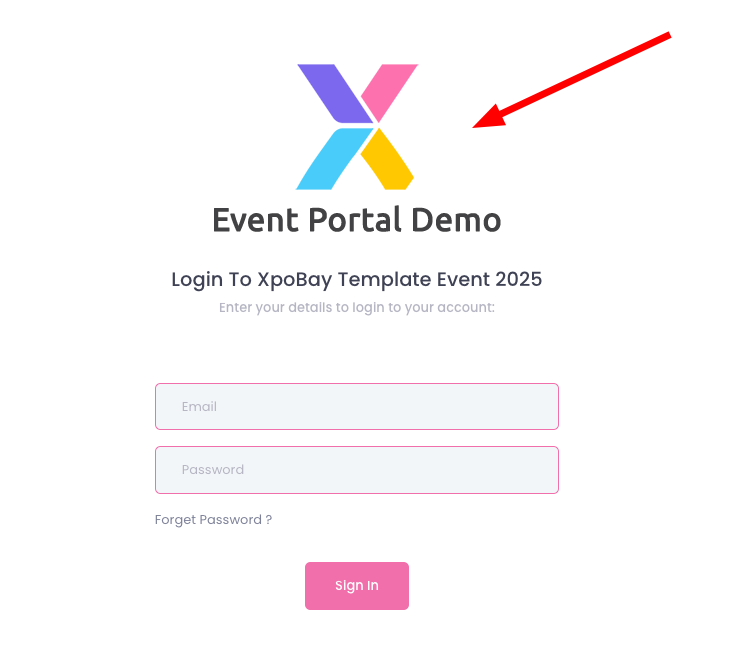
• Login Logo: A logo displayed on login forms.
Event Portal Banner
• Upload an image for your event portal.
Banner & Background Upload Instructions:
Main Logo (Banner):
• Recommended Height: Maximum of 300 pixels.
• Preferred Format: SVG (you’ll be prompted to set the width upon upload).
• Alternative Format: PNG with a transparent background, if SVG is not available.
Background Image (Behind Logo):
• For logos smaller than 100px high: Use a background size of 1920x400px.
• For logos between 101px and 200px high: Use 2560x600px.
• For logos between 201px and 300px high: Use 2560x800px.
Tip: Upload high-quality images. Keep the file size under 2MB for best performance.
Colours
Customise the colours of various elements on your event pages:
• Themes: Adjust the overall colour scheme, including background and navigation.
• Tiles and Buttons: Set distinct colours for buttons and tile elements.
• Icons and Search Box: Personalise the colours of primary icons and the search box.
Use these settings to ensure your event pages align with your branding.
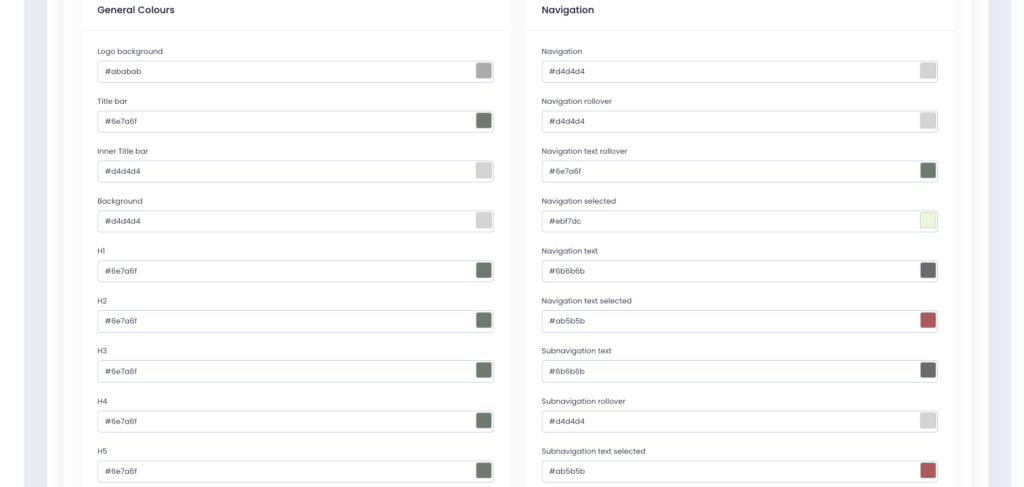
• You can also customise text colours in the (P) Paragraph section to ensure consistent colour alignment across all your pages.

Fonts
• Choose a header font and a body font.
• Supported languages currently include English, Chinese, and Thai.
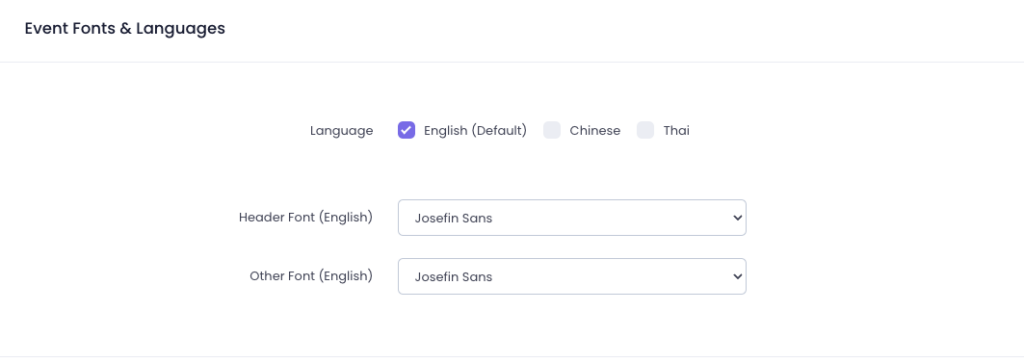
Once all customisations are complete, click Save to apply the settings.
Page Title and Favicon
In addition to portal branding, you can personalise your page title and favicon, which help improve brand recognition and event identity across browsers.
Accessing Page Title and Favicon Settings
1. Navigate to Content.
2. Click on Event Branding.
3. Select the Page Title and Icon.
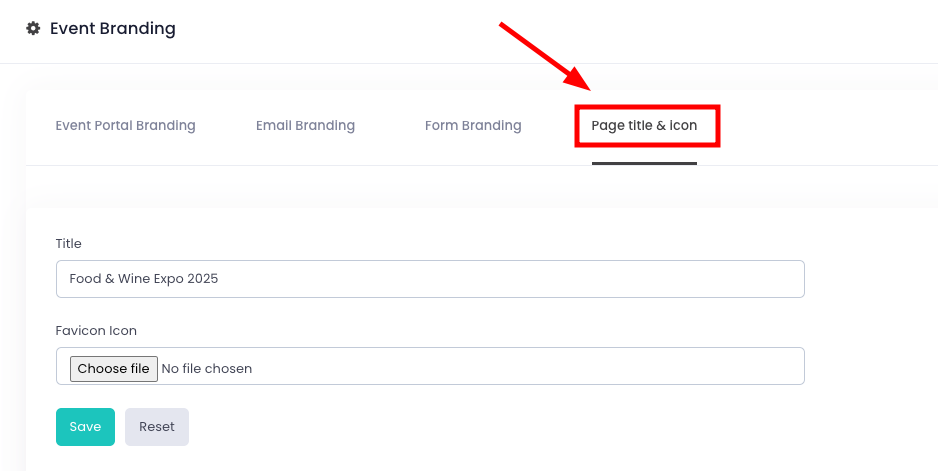
Customisation Options
1. Page Title
Set a custom title for your event page that appears in browser tabs and bookmarks.
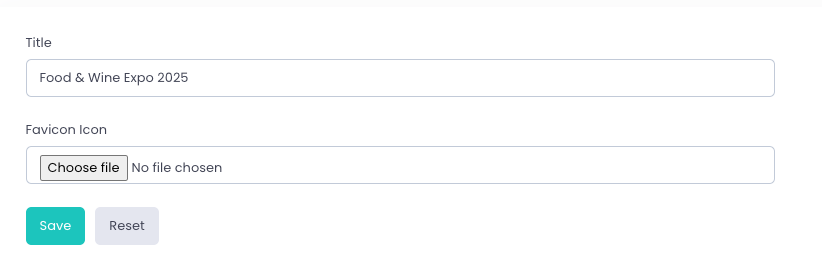
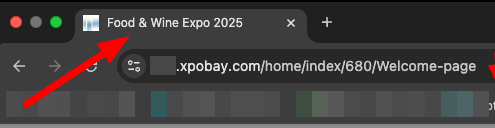
2. Favicon
Upload a favicon for your event. A favicon is a small icon displayed in browser tabs and bookmarks, reinforcing your event’s branding.

Favicon Guidelines:
• File Type: The favicon should be saved as a .png file with a transparent background.
• Once saved, rename the file extension to .ico.
• Example: Save your icon as favicon.png, then rename it to favicon.ico.


• Size:
• Standard: 16×16 pixels (for browser tabs).
• Optional: 32×32 pixels (for high-resolution displays).