When a user completes a form, they typically see a default success message confirming their submission. However, you can customise this message or redirect users to a custom URL for a more tailored experience.
Customising the Success Message
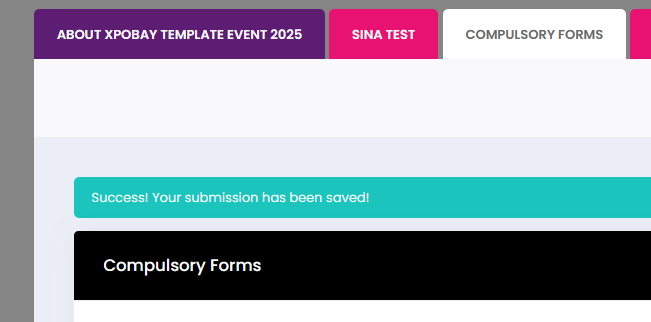
By default, the success message appears as follows when a form is submitted:
To personalise this message:
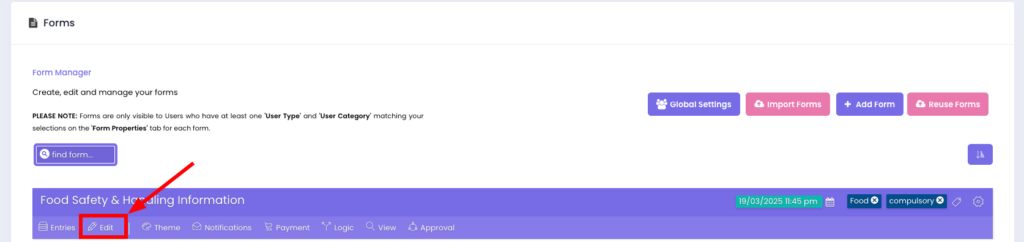
1. Open your form settings.
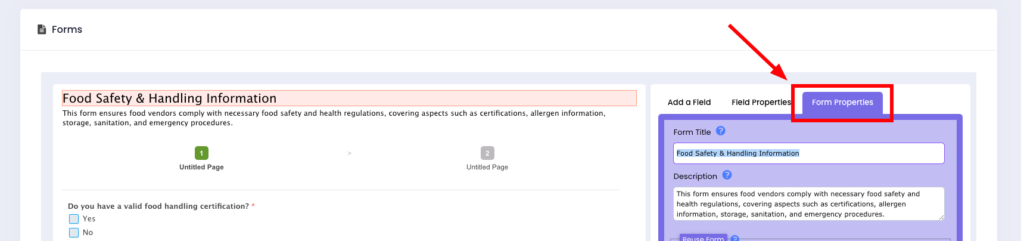
2. Navigate to the Form Properties tab.
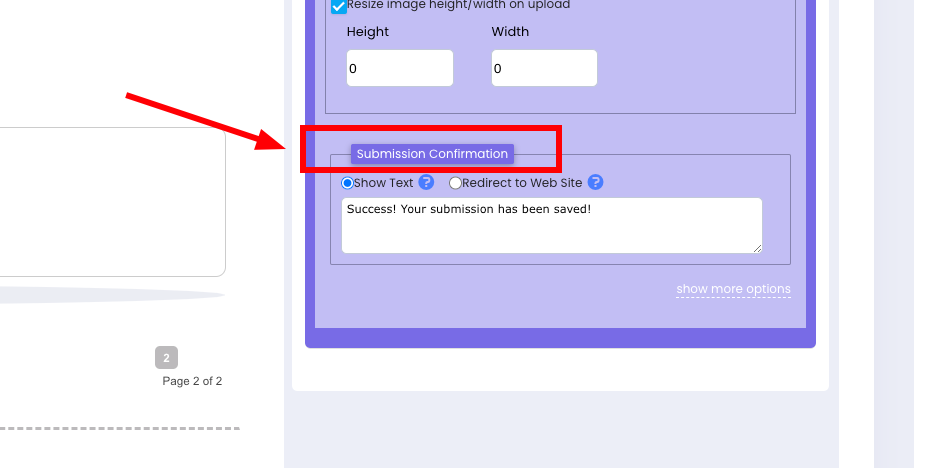
3. Locate the Submission Confirmation field.
4. Enter your custom success message using plain text, HTML, JavaScript, or Merge Tags to enhance the confirmation display.
Customising with HTML and JavaScript
You can format your success message using HTML or JavaScript to enhance styling or functionality. For example:
• HTML Example (Styling):
<p style="color: green; font-size: 18px;">Thank you! Your form has been successfully submitted.</p>Using Merge Tags
For a more dynamic message, you can insert merge tags to display specific values from the submitted form, such as the user’s name or other input data.
For example:
• Template: “Dear {USER_NAME}, thank you for completing the form!”
• Result: “Dear John Smith, thank you for completing the form!”
Redirecting to a Custom URL
Instead of displaying a success message, you can redirect users to a custom webpage upon form submission. This is useful for directing users to a thank-you page, a follow-up form, or additional resources.
How to Set Up a Redirect
1. Open your form properties.
2. In the Submission Confirmation section, select Redirect to Web Site.
3. Enter the full URL where you want users to be redirected.
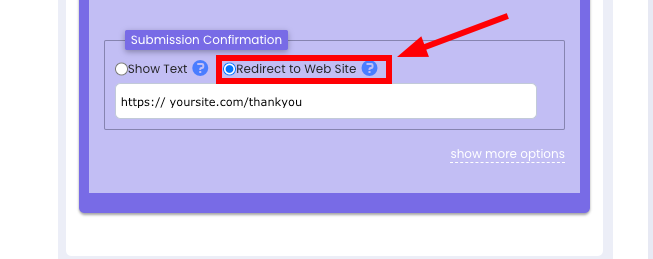
Important: Ensure the URL includes http:// or https:// to avoid redirection issues.
By customising the success page, you can improve user engagement, reinforce branding, and guide users towards the next steps after form submission.