What are Custom Fields?
Custom fields are additional user-defined data points you create to store unique information. The system generates a dynamic tag for each custom field you created (e.g., Discount Code [CUSTOM_Discount-Code]), which you can use to display personalised information.
Why Use Custom Fields?
Instead of creating separate content blocks for each user, you can use these features to dynamically generate personalised content. The key benefits include:
– Simplifies Workflow: Use a single content block to display user-specific details instead of creating multiple blocks.
– Saves Time: Quickly personalise content for large groups without duplicating work.
– Ensures Accuracy: Updates to custom fields are automatically reflected in all related content.
– Enhances Personalisation: Display tailored information unique to each user.
How to Create and Use Custom Fields
Custom fields are a flexible way to personalise and dynamically generate content for your users. Follow these steps to create and use them effectively:
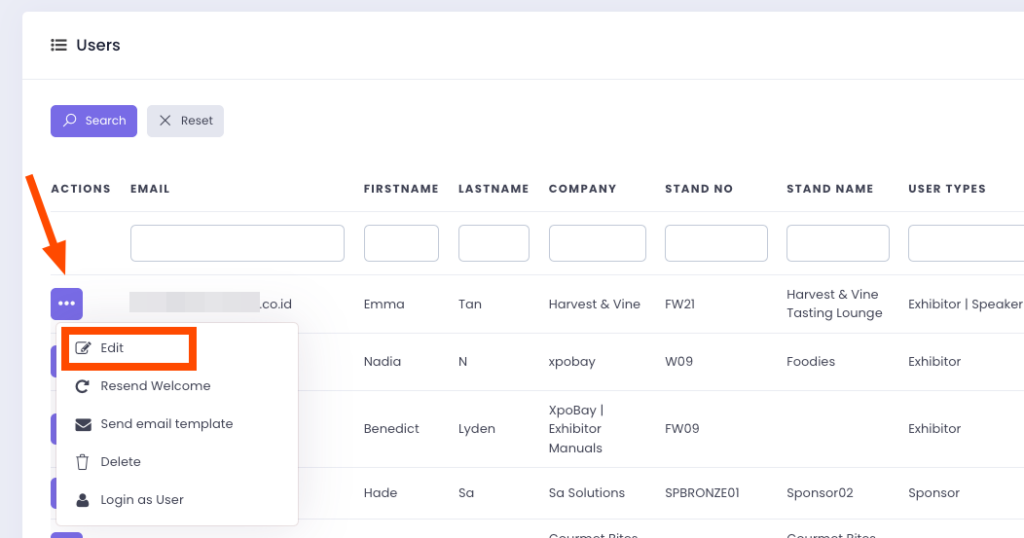
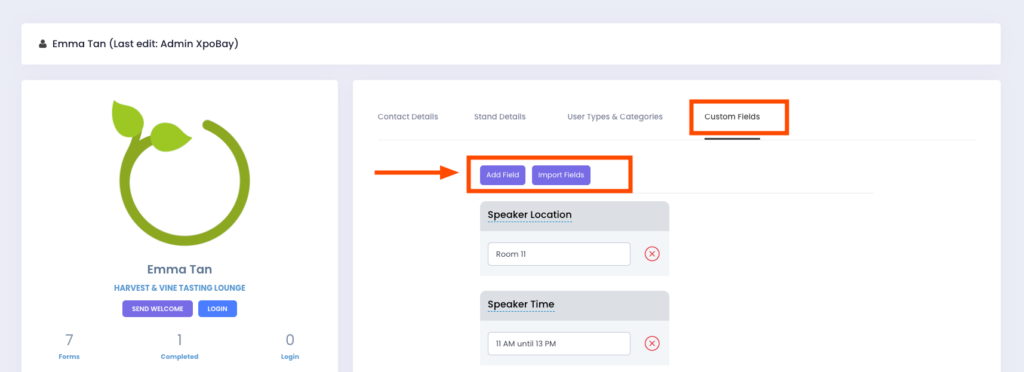
1. Navigate to User Profiles:
– Go to the User List.
– Choose a user and click the three dots beside their name.
– Select Edit and navigate to the Custom Field section.
2. Add or Import Fields:
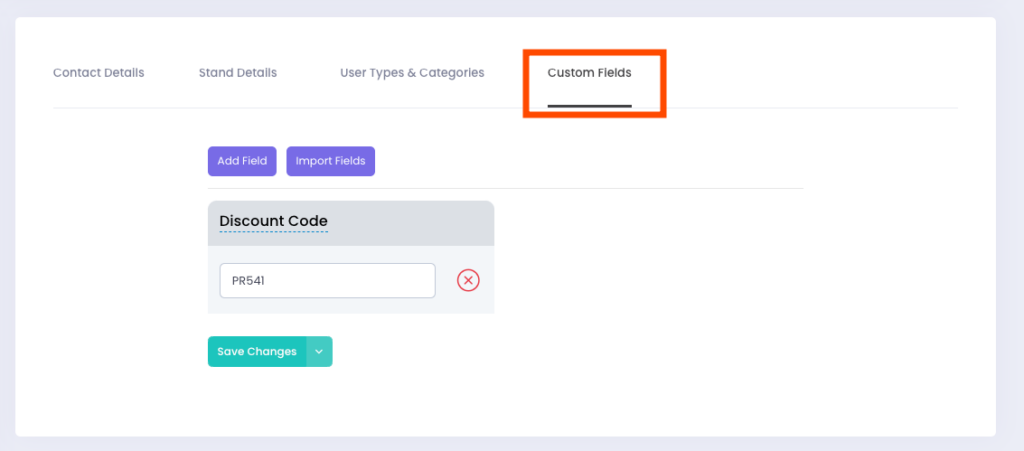
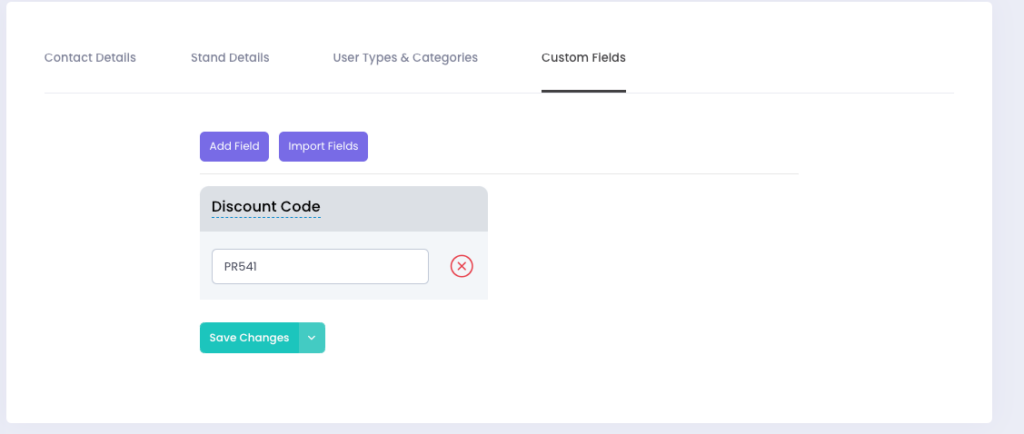
– Add Field: Create a new custom field manually by clicking Add Field. Then, fill in the label and custom value.
For example:
• Label: Discount Code
• Custom Value: PR541 (the discount code for this specific user)
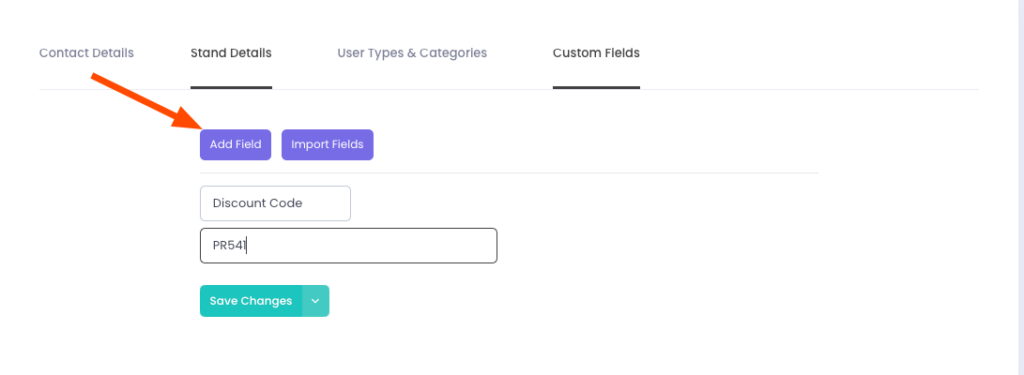
– Import Fields: If your previous events have custom fields, you can import those fields into your current event by clicking Import Fields.
3. Import from Excel File:
-When importing users via an Excel file, you can include custom fields by naming them correctly in the file (e.g., Custom_SpeakerTime). To add a custom field, prefix the field name with “Custom_”, followed by your desired field name.
These custom fields will automatically be assigned to the respective user profiles upon import.

Note: do not use any symbols such as [] () : ; \ < , > “ when naming your field.
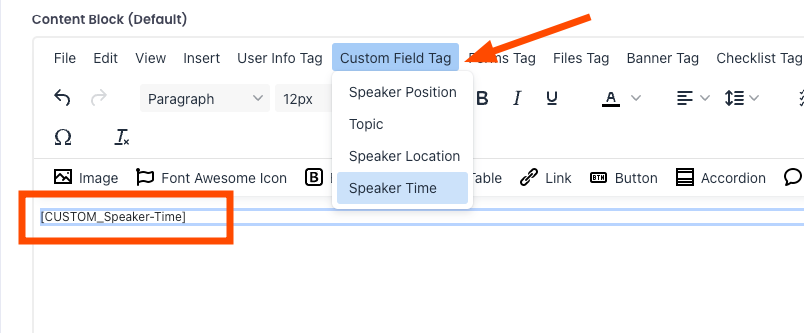
4. Generated Tags:
Once a custom field is created, the system generates a tag for it (e.g., [CUSTOM_Speaker-Time]). Use this tag to dynamically display user-specific details in content.
Using Custom Fields in a URL
Custom fields can be embedded into URLs to generate personalised experiences. By using the correct tag, users will automatically see content that reflects their details.
Example:
Example:https://www.eventexample.com/register?code=[CUSTOM_Unique-Registration-code]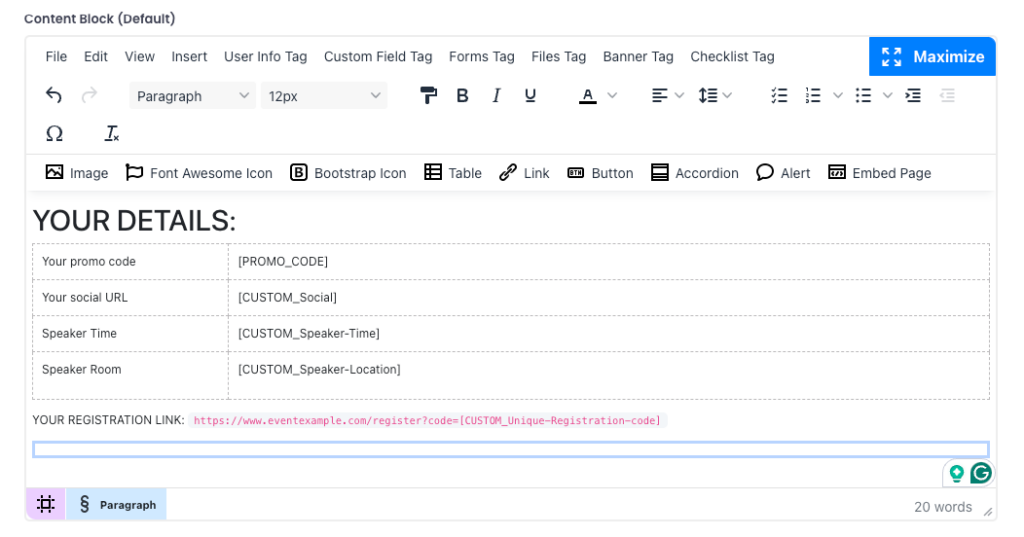
When assigned to a user with a custom registration code, the link will dynamically replace the placeholder:
– User Name: Anthony
– Unique Registration Code: anthonyglobal
https://www.eventexample.com/register?code=anthonyglobalThis method ensures that each user gets a unique experience without requiring manual adjustments.
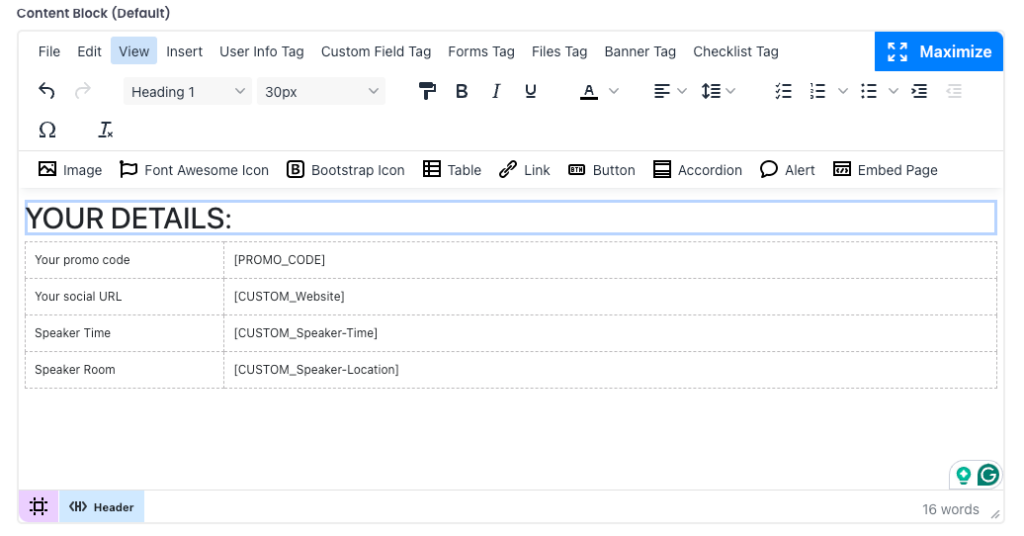
Custom Fields in Content Blocks/Pages
Instead of manually customising content for different users, dynamic tags allow you to create flexible and personalised content blocks. This ensures that when a user accesses the content, the system automatically fills in the relevant details based on their profile.
For example, instead of creating separate pages for different speakers, you can insert a custom tag like [CUSTOM_Speaker-Time], and the system will replace it with the correct details for each speaker viewing the content.
By utilising custom fields effectively, organisers can create a seamless, personalised experience for users while reducing manual work and enhancing engagement.