Creating event pages is an essential part of setting up your event portal. These pages allow you to organise and present important information for participants. Follow this guide to learn how to create and customise event pages effectively.
Accessing Pages
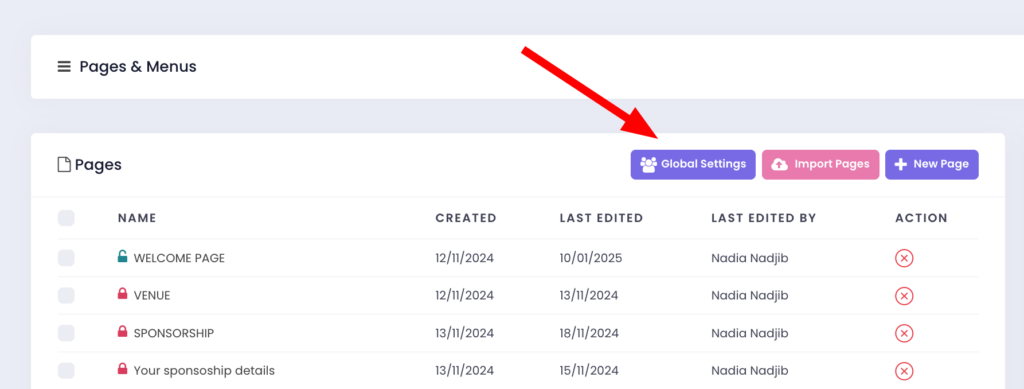
Navigate to Content and select Pages and Menu.

Creating Pages
In the Pages and Menu section, you can:
– Add a New Page: Create a custom page from scratch for your event.
– Import Pages: Reuse pages from a previous event by selecting and importing them directly into your current event.

An editor page will appear where you can configure your page settings. Fill in the following:
– Page Name: Enter a descriptive name for your page (e.g., Welcome Page, Event Schedule).
When you name a page, a URL is automatically generated based on the name. For example: Welcome Page.
Generated URL: https://our.xpobay.com/home/index/680/Welcome-page
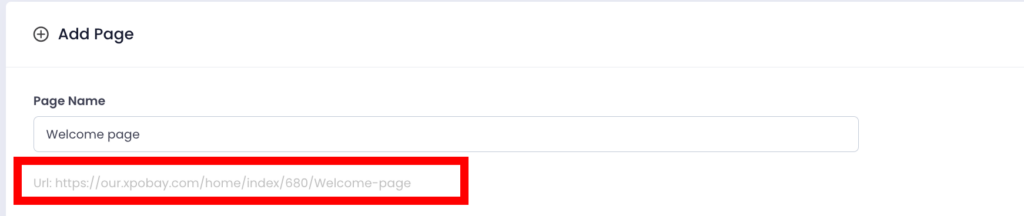
If you change the page name and wish to update the URL, click the generated portion (e.g., “welcome-page”) and edit it accordingly.

Best Practices for URLs: Avoid using spaces, punctuation (e.g., periods, commas), or special characters in the URL. Use hyphens (-) to separate words for clarity (e.g., Welcome-page instead of Welcome page).

Access Type
Choose whether the page will be:
– Public: Accessible to everyone, including both logged-in users and non-users. Use public pages for general information that you want all visitors to see.
– Private: Requires login to view the page, and visibility can be restricted to specific users (logged-in users).
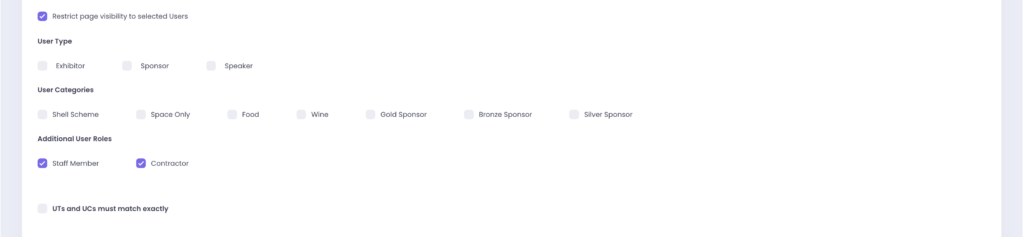
If additional users (AUs) are involved, you can manage their access using roles.
Logic for Content Visibility Based on Additional User Roles:
1. Default Behavior (No AU Roles Selected): If no AU roles are selected, an Additional User (AU) will have the same visibility as their Parent User. They will only see content that their Parent User can see.
2. When AU Roles Are Selected: If one or more AU roles are selected, only Additional Users with the selected roles will have access to the content.
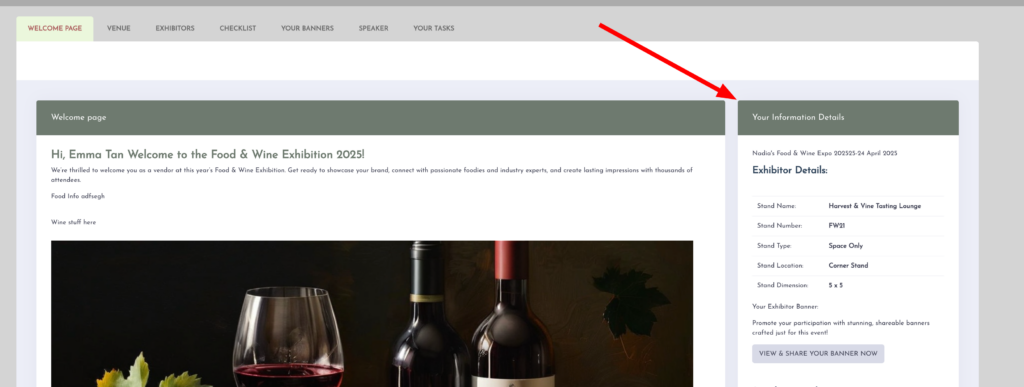
Adding a Sidebar to Your Page
Tick the checkbox in the page editor to include a sidebar on your page. For more information about the sidebar, refer to this article.

The user will see the following view:
Editing the Page Content
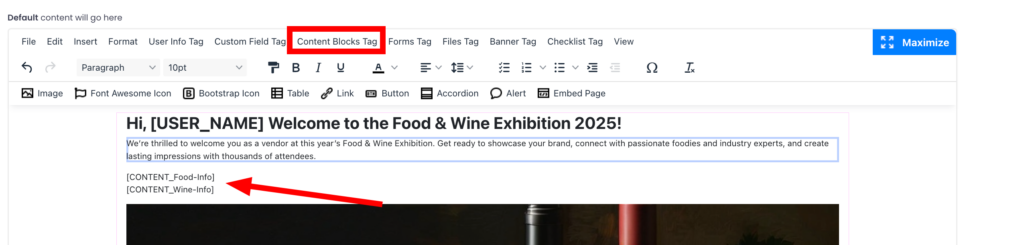
When editing the page content in the provided content block, you can:
– Add text, images, videos, or other media.
– Format the content as needed for clarity and presentation.
– Use dynamic tags to insert previously created content such as forms, content blocks, files, banners, or user checklists.
Example: To display a content block, click on the Content Block Tag, choose the specific block you want, and click Save.
Once the page is complete, click Save.
You can read more about editing the page editor here.
Viewing and Managing Pages
After saving, your page will appear in the list of pages within Pages and Menu. From here, you can:
– Set Visibility in Global Settings: Manage who can access the page on a larger scale.
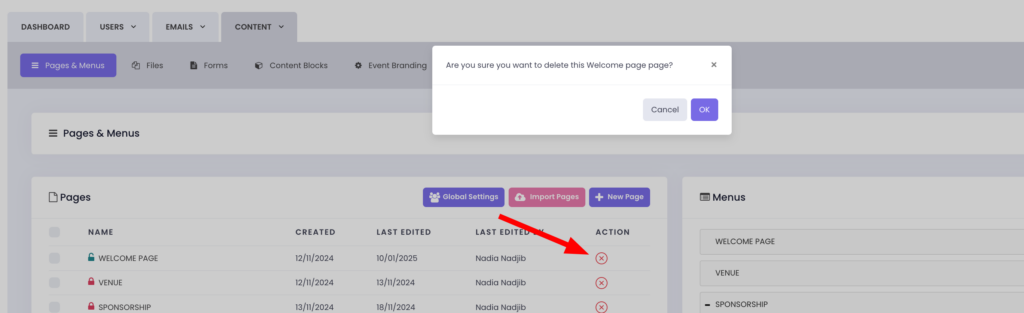
– Remove Pages: Delete pages no longer needed by clicking the X button next to the page name.
How to Add Pages to the Menu
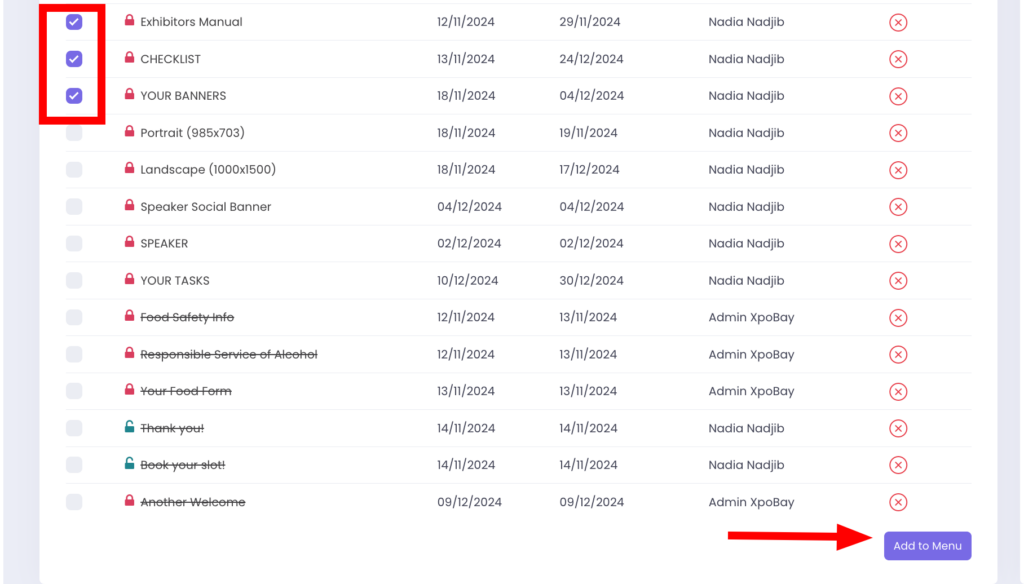
Navigate to the Menu section in Pages and Menu.
– Drag and drop your pages into the desired order or select the page and click Add to Menu.
– Save your menu structure once the hierarchy is complete.
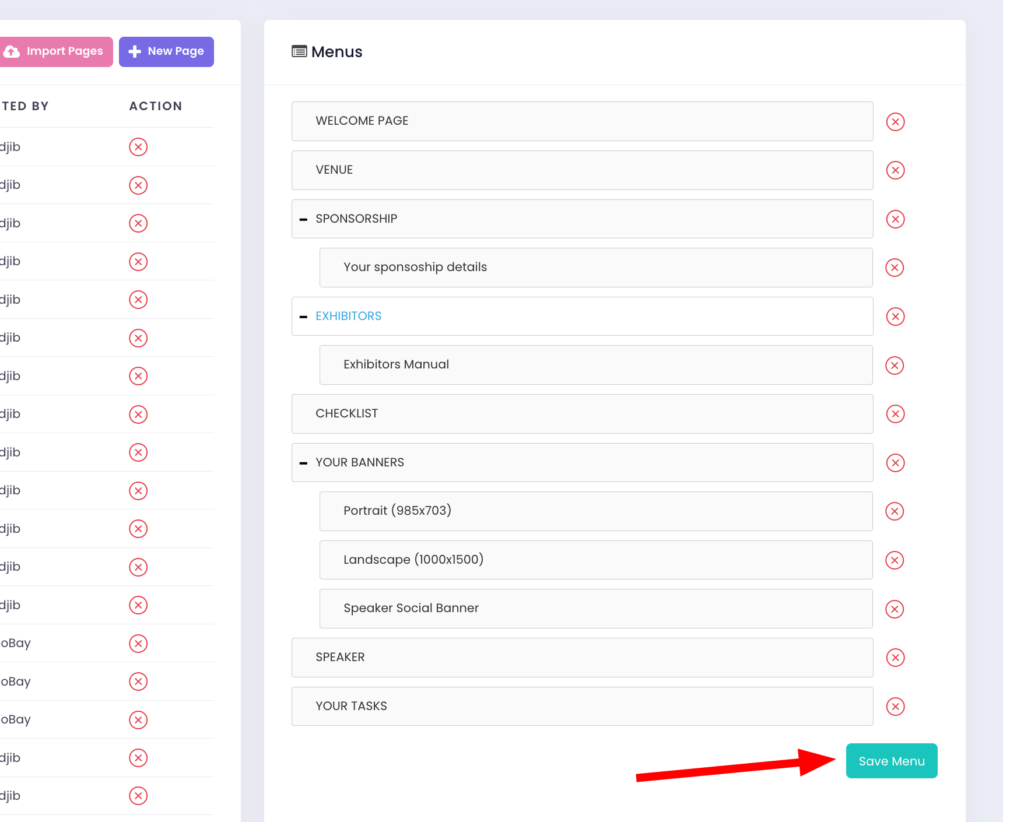
Organising Pages in a Hierarchy
To organise your pages, you need to add them to the Menu. This allows you to structure your pages into a clear hierarchy, improving navigation for your participants.
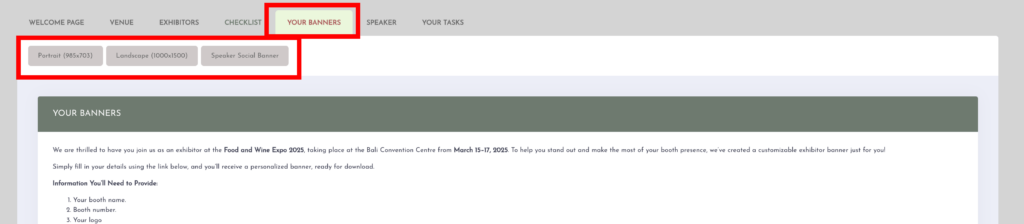
– Parent Pages: These are the top-level pages, such as “YOUR BANNER”.
– Sub-Pages: These are nested pages that fall under a parent page as seen in the image below:
Best Practices for Event Pages
– Keep Pages Organised: Use clear names and logical structures for pages.
– Use Dynamic Tags: Make your pages interactive by including forms, checklists, and content blocks.