Forms help you collect information from users. This guide will show you how to create a simple form in just a few minutes.
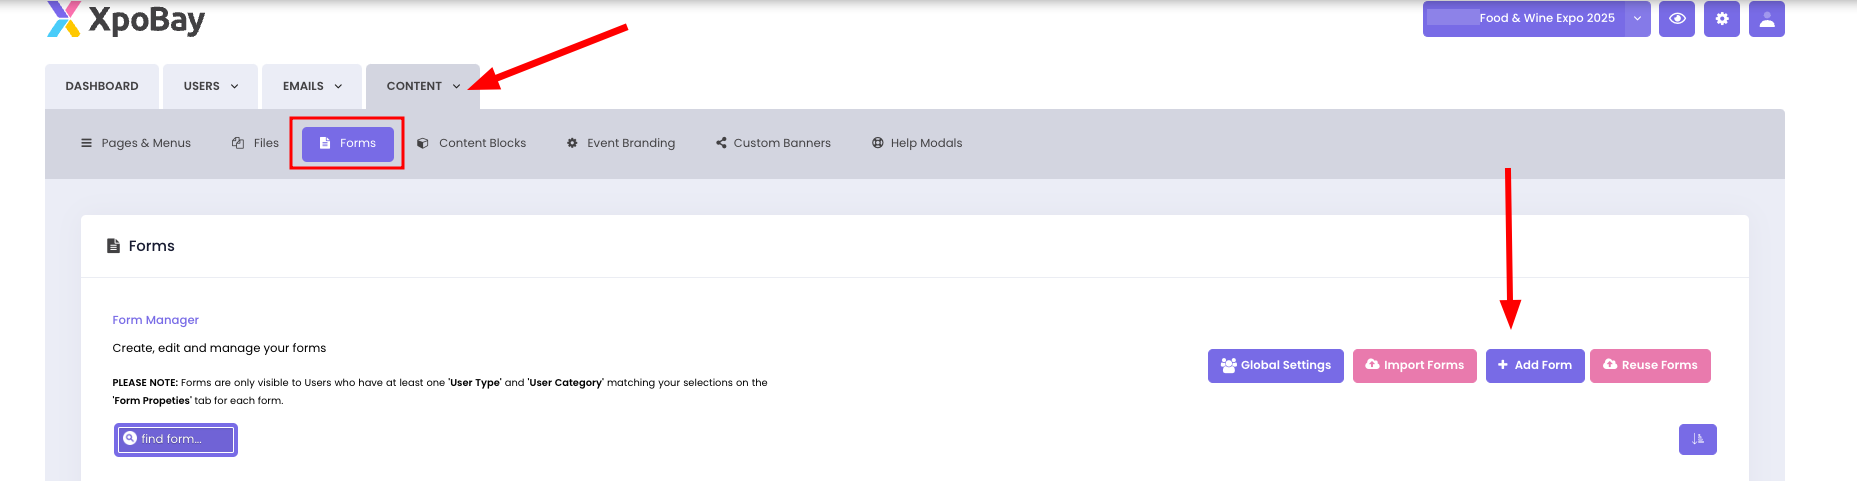
1. Click Content in the menu, then select Forms.
Navigate to Content/Forms. In the top right corner of the page, there is a button labelled “+ Add Form”. Click this button.
Tip: If you have forms from a previous event, you can import them by clicking Import Forms.
2. Add and Arrange Fields
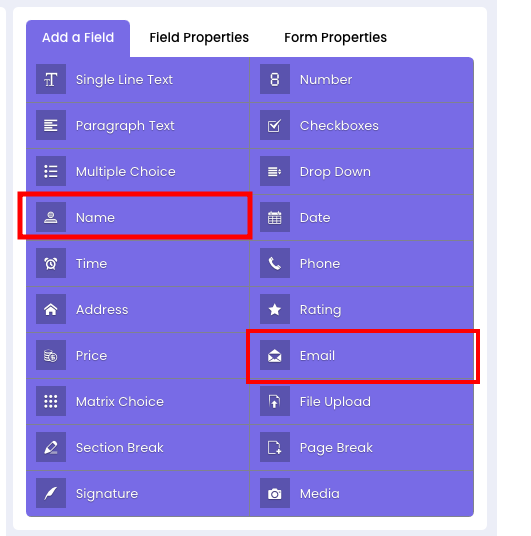
On the Forms page, click the field buttons on the right side of the form builder or drag the button into the preview pane. This will add fields to the form.
Select the fields you need, such as text boxes, dropdowns, checkboxes, or file uploads.
Drag and drop fields to set the order or move them up and down to adjust their position.
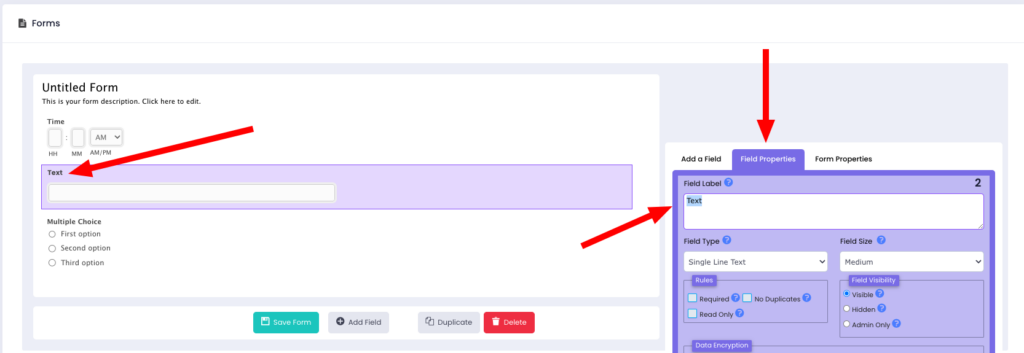
3. Customise Field Properties
Click on a field to adjust its properties, such as:
• Changing the field label
4. Set Form Properties
In the Form Properties, you can customise various settings to fit your needs, such as:
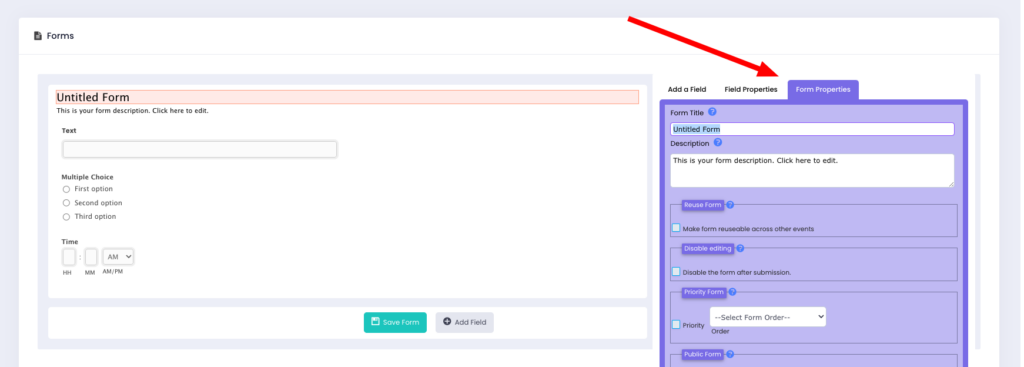
• Public or Private: Choose whether the form should be public or private.

What does this mean?
– Public Forms
Public forms are accessible to anyone with the link and are typically used outside of XpoBay, such as on your event website. Since public forms do not require users to log in, the system cannot identify who is completing the form.
This means you should include fields like the submitter’s name and email address to gather identifying information.
– Private Forms
Private forms are accessible only to logged-in users with the appropriate permissions. These are ideal for tasks where tracking submissions or targeting specific users, such as exhibitors or sponsors, is necessary.
When deciding, consider the form’s purpose and the level of control required over access and data collection.
• Compulsory Form: This setting ensures that the system labels the form as compulsory for the user. However, it does not enforce completion; it only appears as a label in the form or checklist table.

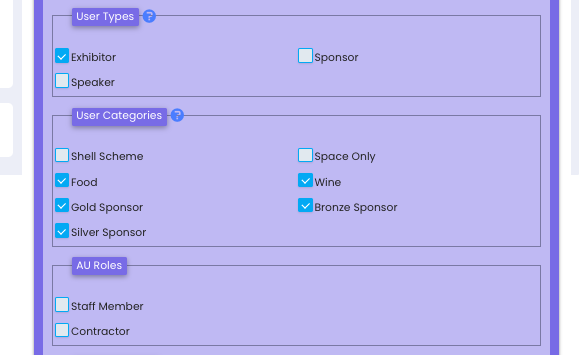
•Visibility Settings: Specify which user types, user categories, or AU roles can access the form. You may read more about this in this article.
• Form Entry Limits: Allow multiple entries or limit to one per user. If limiting entries, set the Entry Limit (e.g., max 10 entries).

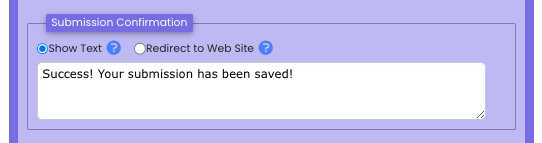
• Submission Confirmation: Add a confirmation message (e.g., “Your submission has been saved”) or redirect users to another URL.
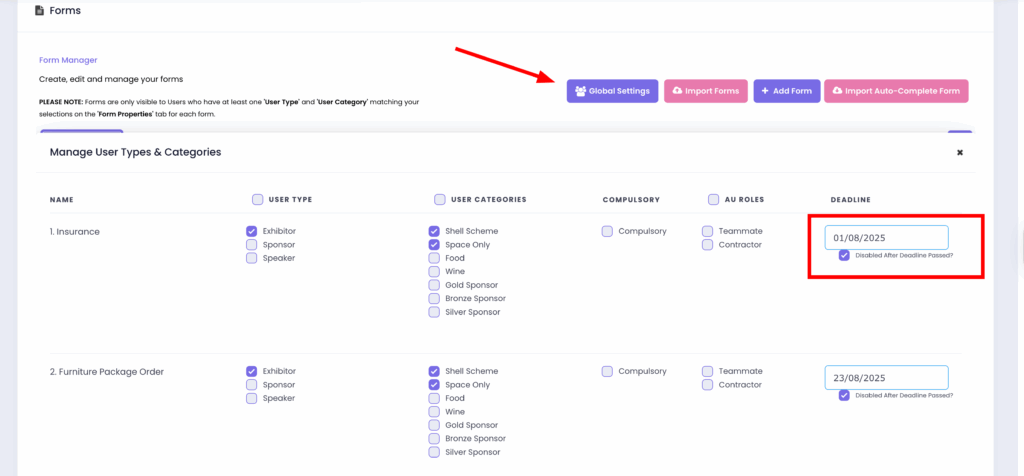
• Form Deadline: After saving the form, click Global Settings to set a submission deadline if needed. You can also choose to disable submissions once the deadline has passed.
5. Save and Preview
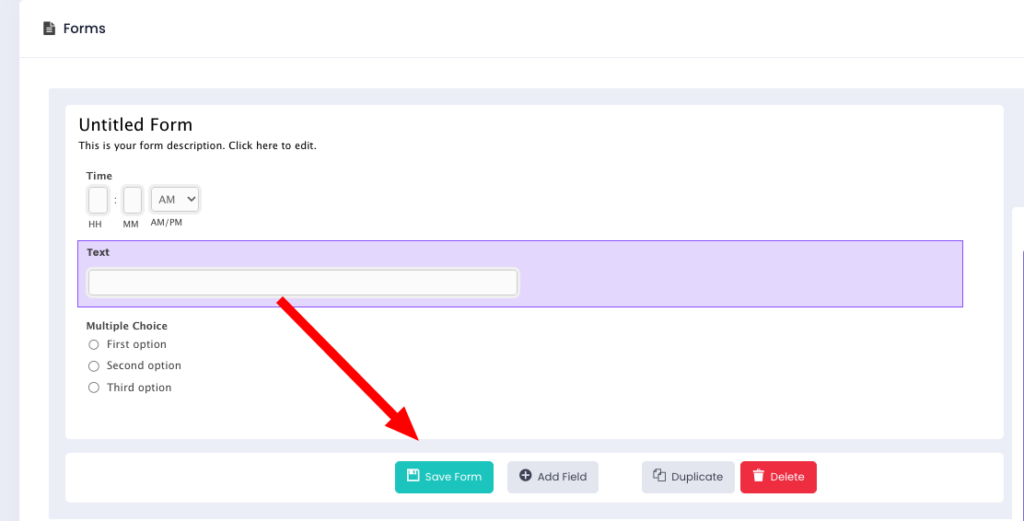
If you are happy with the way everything looks, you can add a title to your form and save it by clicking the “Save form” button below the form.
That’s it! You have created a new form!
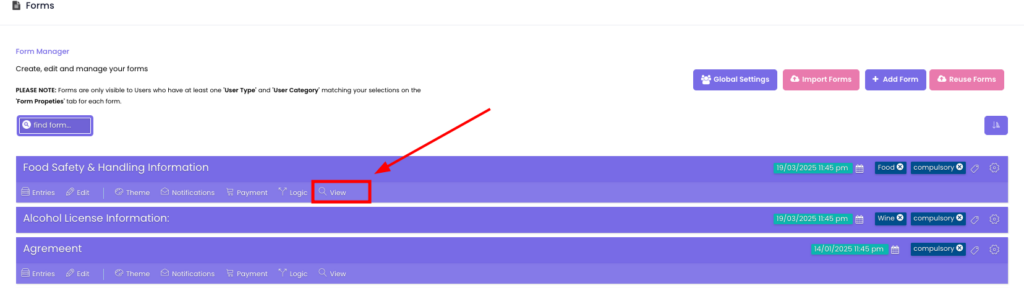
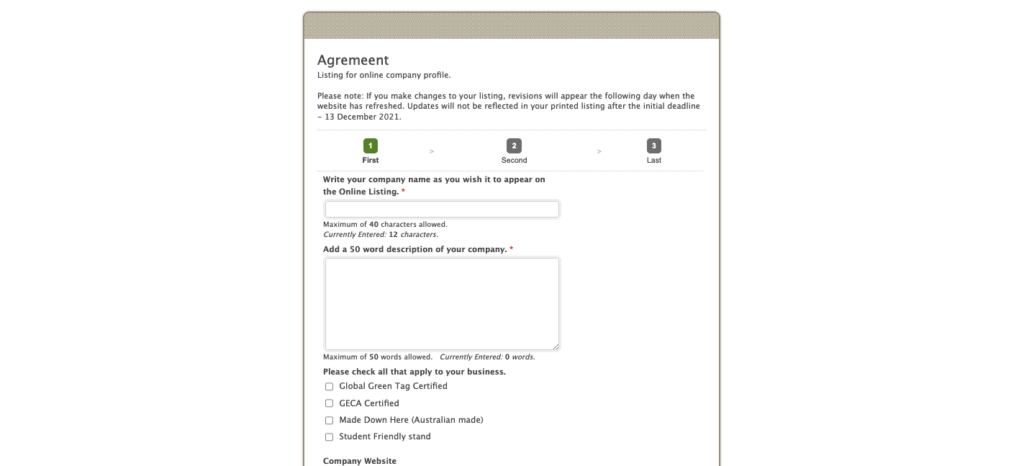
You will be redirected to the Form Manager page and your form will be listed there. Click the “View” icon to see the final form result.