The Auto-complete Form is designed to streamline data collection across events by allowing users to reuse previously submitted form entries. This feature improves efficiency for organisers and participants, particularly in recurring events and multi-event portals.
How Auto-Complete Forms Work
Auto-complete Forms are ideal for forms that will remain unchanged, such as company profiles, dietary requirements, AV setup, or bios. Once enabled, the form can be imported into other events, and users who have completed it previously will see their earlier answers automatically filled in. The system matches the user’s email address with data from the original event to pre-fill the form, saving time and reducing manual input for all parties.
For example:
A user took part in Food & Wine Expo 2021 and completed the Company Profile Form. When they join Food & Wine Expo 2022, the system will automatically populate the form with their responses from 2021.
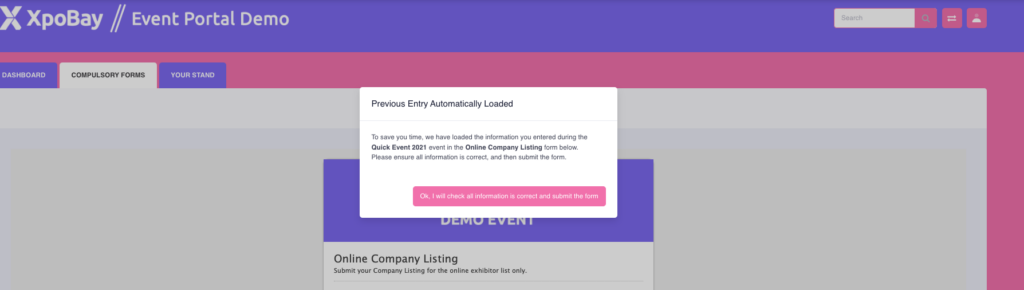
The user will see a message informing them that previous answers have been automatically loaded, as shown in the image below:
Auto-complete Forms Are Ideal For:
– Multi-Event Portals – Helps organisers maintain consistent user data across events.
– Recurring Events – Useful for participants returning year after year.
– Minimising Repetition – Automatically completed answers reduce effort and speed up the process.
Setting Up an Auto-complete Form
Using an Existing Form
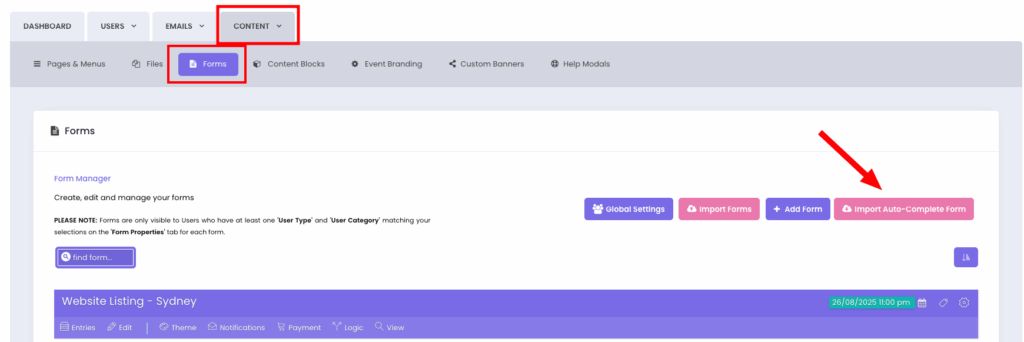
1. Go to Forms
• Navigate to Content > Forms > Import Auto-Complete Form.
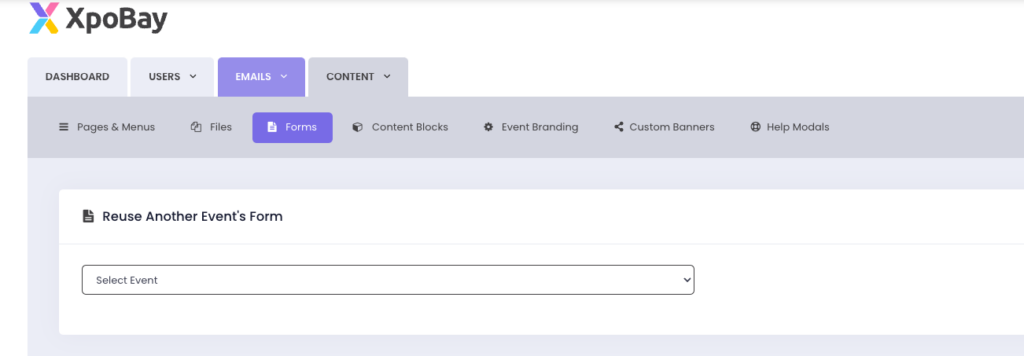
2. Select the Event
• Choose the previous event containing the form you want to use.
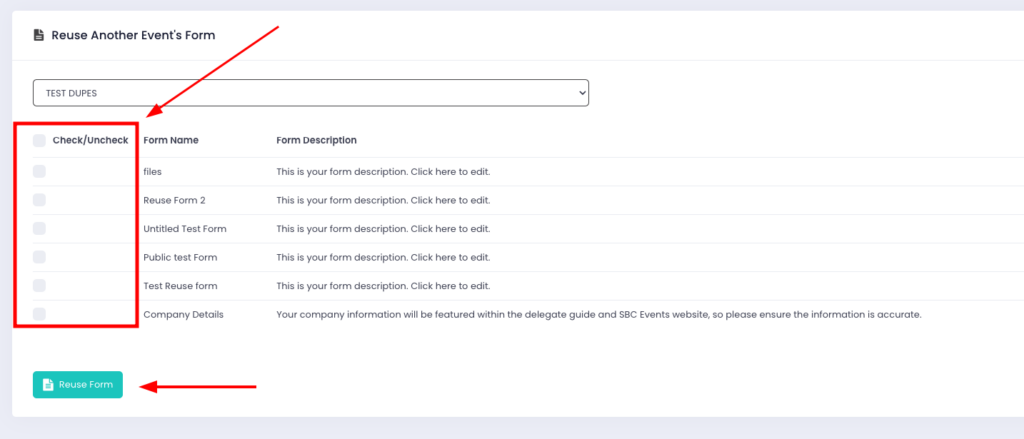
3. Pick the Form
• Select the relevant form from the list. It will appear in your current event’s form list.
4. Auto-complete Icon
• Auto-complete Forms are marked with a 🚫 icon, indicating they cannot be edited.

With careful planning and finalisation, you can fully benefit from the Auto-complete feature.
Creating a New Auto-complete Form
If you do not have an existing Auto-complete Form, you can convert a form from your current event.
1. Edit the Form
• Go to the form you want to make Auto-complete and click Edit.
2. Go to Form Properties
• Tick the checkbox: Make this form available for other events with auto-filled responses.
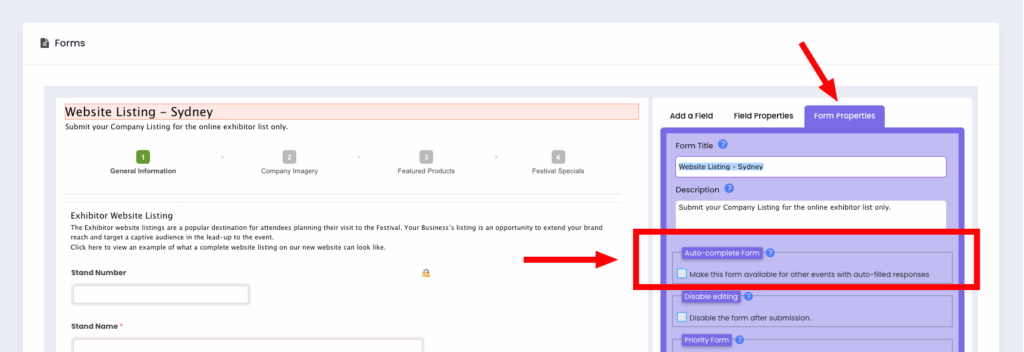
3. Save Changes
• The form will now be available as an Auto-complete Form in future events.
Important:
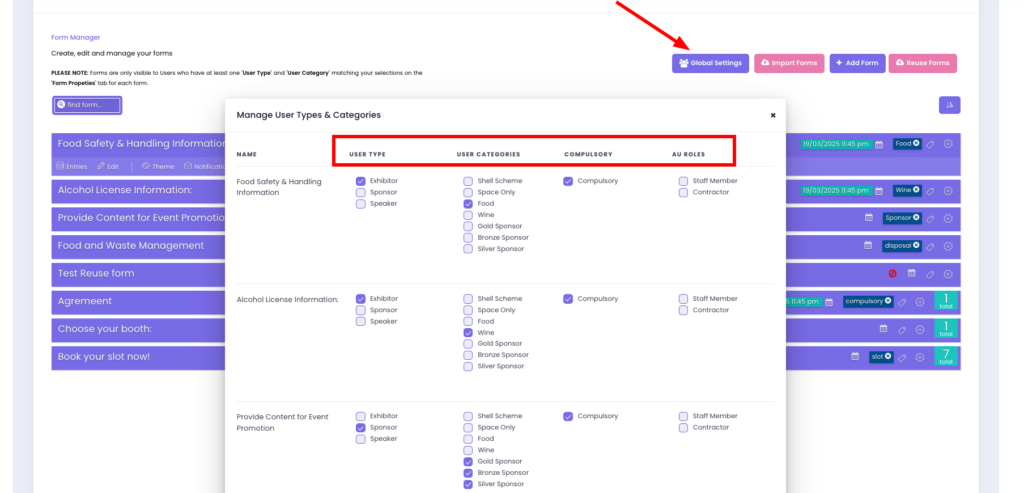
• Editing Limitations: Once a form is marked as an Auto-complete form, it cannot be edited. However, visibility between users can still be managed via global settings.
• Data Consistency: The system always pulls the most recent data when a user clicks “Click here to complete.” Email address matching is used to pre-fill the form.
• Testing Recommended: Before rolling out Auto-complete Forms, we recommend testing them with sample users to confirm everything works as expected.