Once you’ve created a custom banner template or template set, you can easily add it to your pages. This allows you to integrate your banners into event pages, tailored to specific users, categories, or types.
Here’s how to do it:
1. Go to Pages & Menus :
Navigate to the page where you want to add the banner.
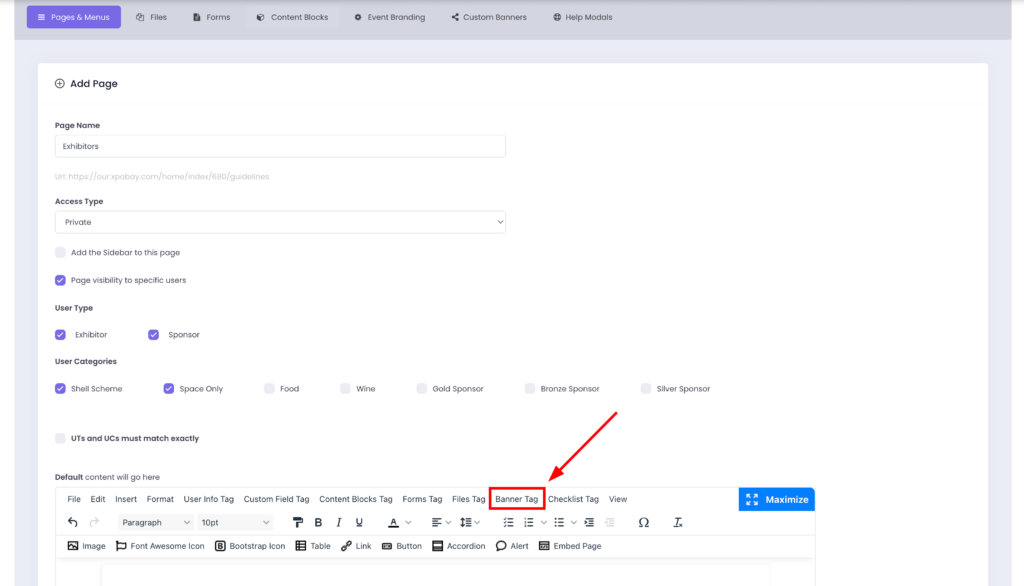
2. Access the Banner Tag Option:
In the Page Editor, locate the Banner Tag option to add your custom banner.
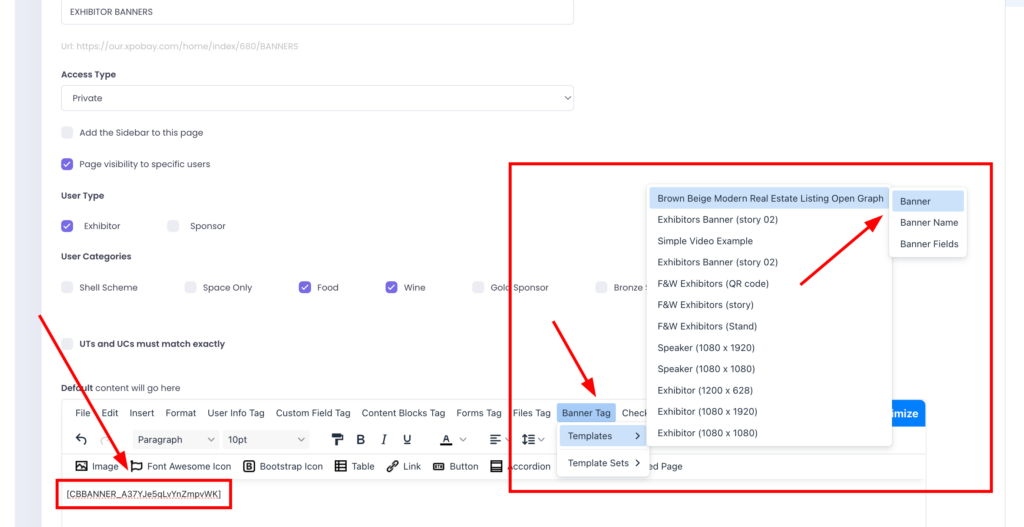
3. Choose the Banner Type:
• Single Template:
• Select the specific banner template you want to add.
• Template Set:
• Select the desired template set.
• The entire template set will appear on the page for the assigned users.
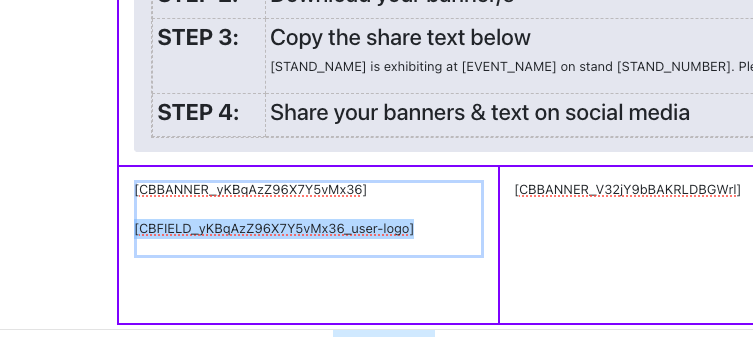
• A variable tag will be created automatically, which you can use to display the template on the page. For example: [CBBANNER_A37YJe5qLvYnZmpvWK]
If you want your user to update or let users upload their logo or headshot, and update banner fields like name or position from their event portal.
You can also place the upload field directly on a page.
-In the Page Editor, click Banner Tag and choose your banner template.
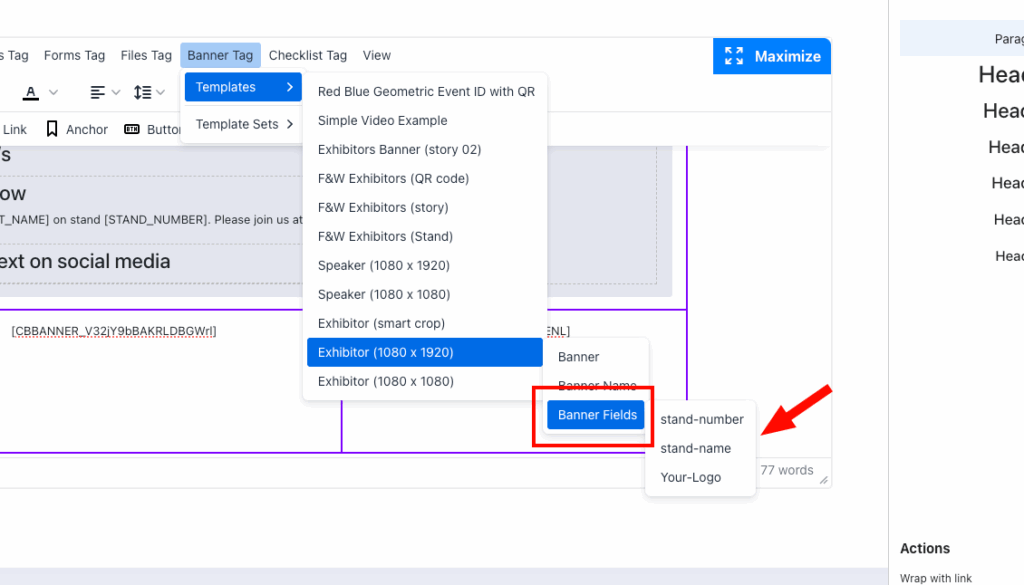
-Then click Banner Fields, and select the field from your template.
A pop-up will appear — under Default Value, choose the fields you want the user to update.
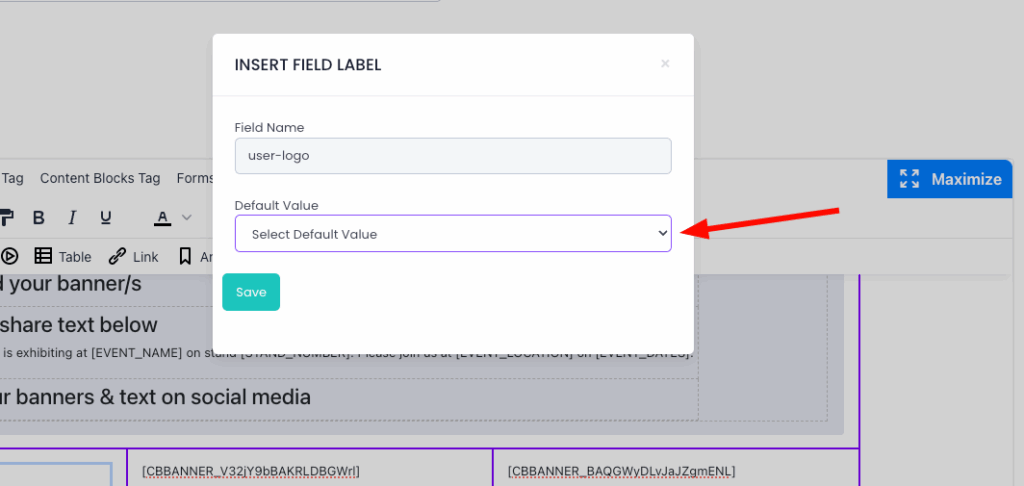
Once saved, the tag will be inserted into the page.
4. Save and Publish:
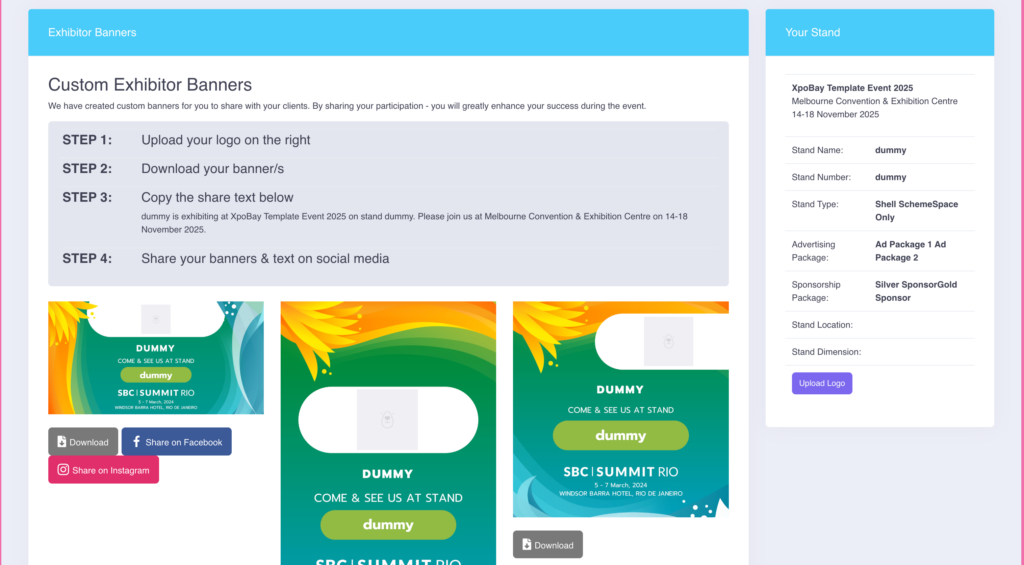
Once you’ve added the banner or template set, save your changes and publish the page.
Your exhibitors or sponsors will be able to view the banner on your event pages as shown below:

Why Use Custom Banners on Pages?
• Personalisation: Tailor the content of your pages for specific exhibitors, sponsors, or other users.
• Efficiency: Quickly integrate single templates or entire template sets without additional design steps.
• Flexibility: Use variable tags to manage banner placements dynamically.