To add forms to your pages, you will need to insert a [TAG] into the page where you want the form(s) to be displayed.
Steps to Add Forms
1. Open the Page Editor for the page where you want to add the forms.
2. In the page editor, click Forms Tag and select the desired options from the dropdown.
3. Once you’ve chosen the appropriate option, save the page to apply your changes.
Below are the different options available for adding forms to your pages.
• Add All Forms (For Simple Events Only)
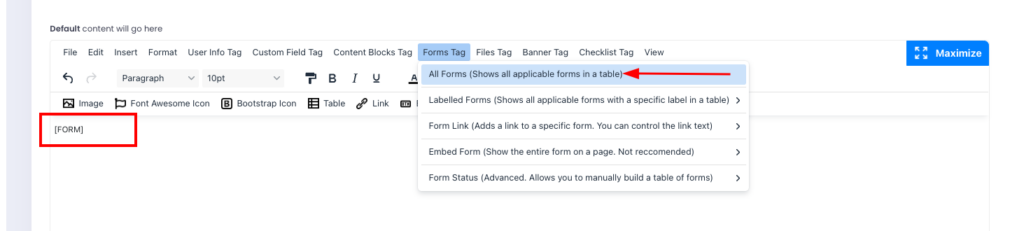
If you want to display all forms on a single page, this method is the quickest and simplest. It will display all forms associated with your event.
– From the Forms Tag Dropdown, choose “All Forms”. The tag [FORMS] will automatically appear in the editor box.
Note: This method is ideal for small, simple events but may be overwhelming for more complex setups.
• Add Forms with a Specific Label (Recommended for Most Events)
Labels help you group and display forms efficiently. They categorise forms based on concepts or purposes, allowing them to be shown in specific sections or tables on a page.
For example: use a label like Compulsory to display required forms in one table.
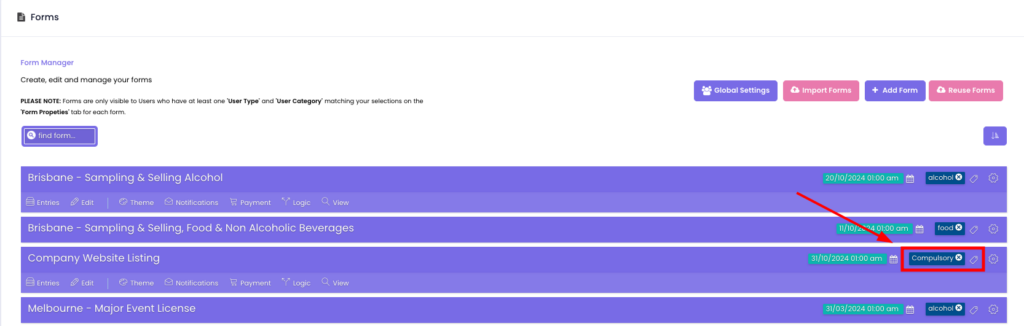
– From the Forms Tag Dropdown, select “Labelled Forms”, and select the label you assigned (e.g., COMPULSORY). The tag [FORM_COMPULSORY] will appear in the editor box.
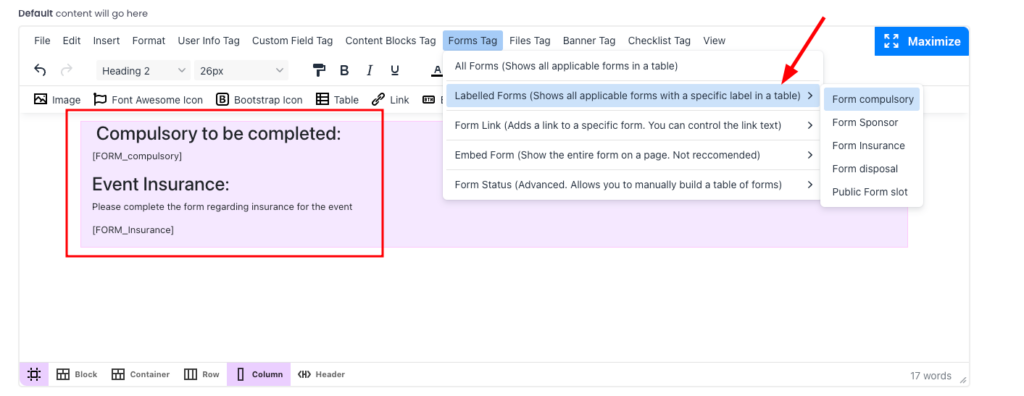
🚨 Important: When you assign a label to one or more forms and use the [FORM_LABEL] tag, the system will automatically display all forms with that label which are relevant to the logged-in user.
• Link to Individual Forms
If you prefer to link to specific forms rather than displaying them directly, this method allows you to insert a clickable link.
– From the Forms Tag Dropdown, select “Form Link”. Customise the display text for the link.
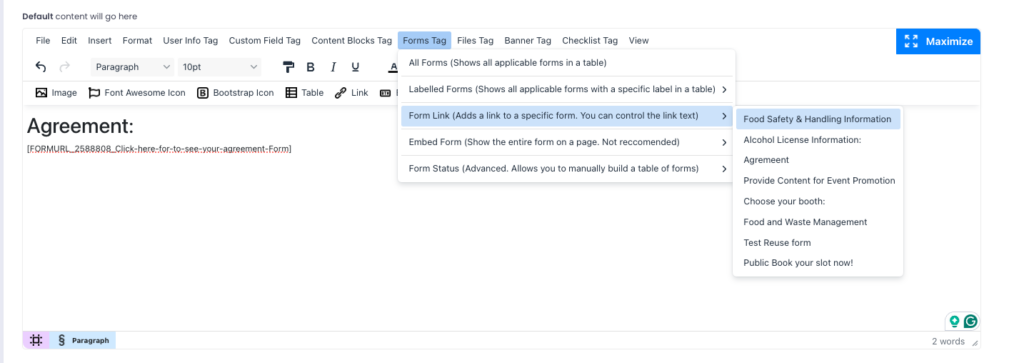
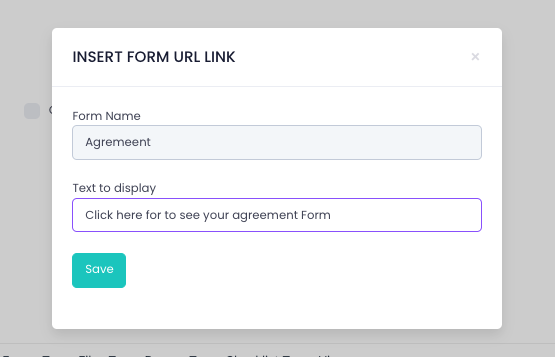
The system will generate a tag, for example:
[FORMURL_2588808_Click-here-to-see-your-agreement-Form].
This tag will display as a clickable link on the event page:

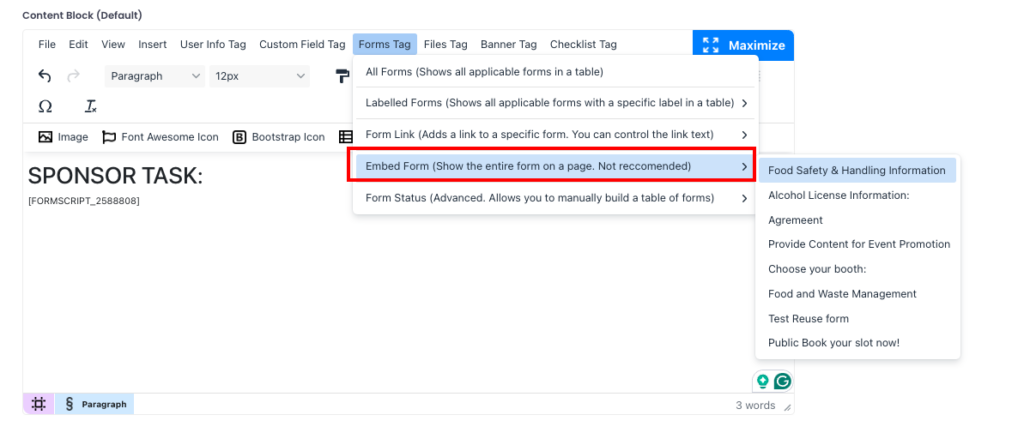
• Embed a Full Form (Not Recommended)
Embedding an entire form directly onto a page is possible but not recommended as it may clutter the layout.
– From the Forms Tag Dropdown, select “Embed Form”.

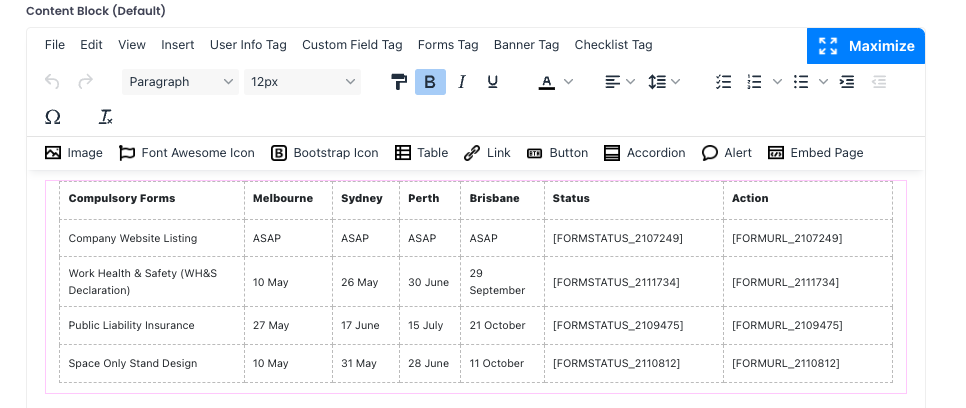
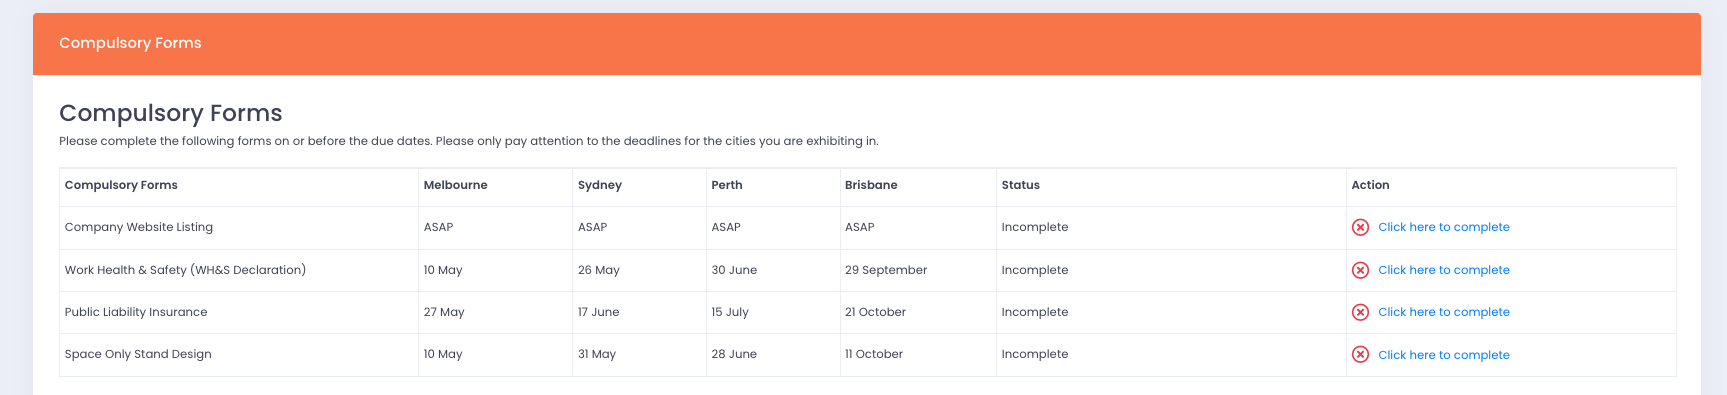
• Display a Form Status Table
This Advanced option allows you to create a custom table that displays the status of selected forms (e.g., “Incomplete” or “Completed”).
– From the Forms Tag Dropdown, select “Form Status”.
Using these options, you can ensure forms are displayed to suit your event’s requirements, enhancing the experience for both organisers and users.