Adding fields to your form is a straightforward process, giving you control over its layout and functionality. Follow these steps to get started.
The Form Builder Interface
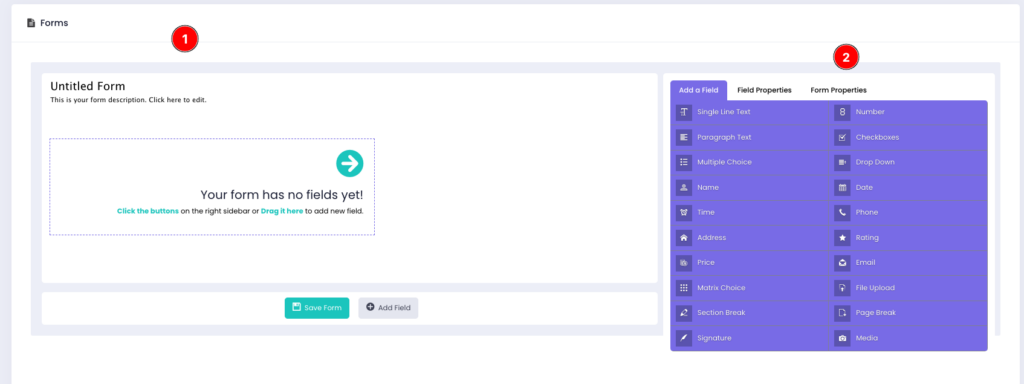
The form builder interface appears after clicking Create New Form.
It is divided into two main areas:
1. Preview Section (on the left): Displays a live view of the form as you build it.
2. Field Buttons (on the right): Contains different field types, such as text fields, checkboxes, and dropdown menus, ready to be added to your form.
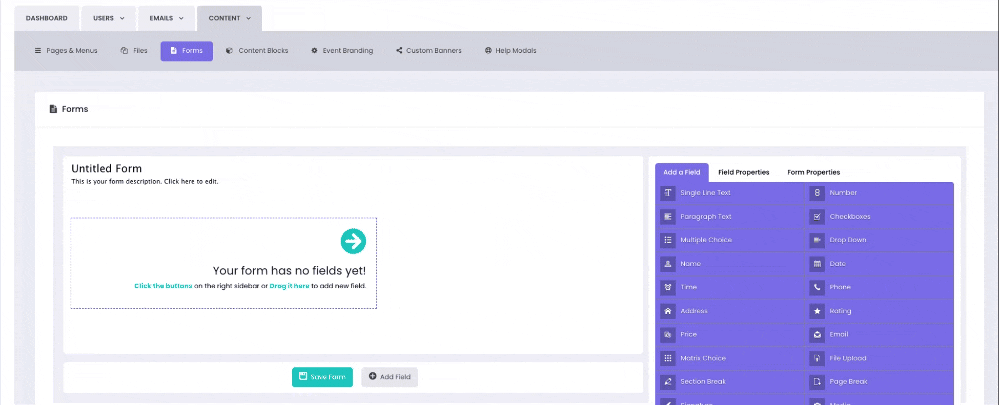
Adding Fields: Two Methods
Fields can be added to your form using two different methods.
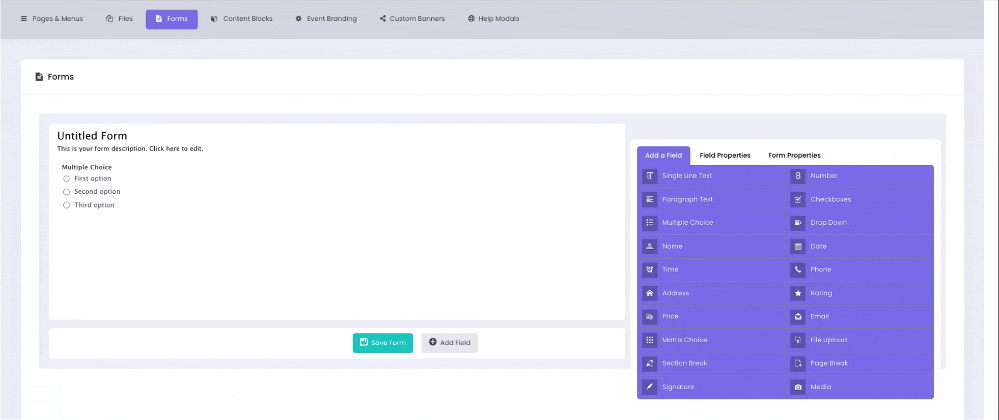
1. Click to Add
Clicking a field type in the right-hand panel automatically adds it to the preview section. Multiple fields of the same type can be added by clicking the button repeatedly. This method works well for creating forms from scratch.
2. Drag and Drop
Dragging a field from the right-hand panel into a specific position in the preview section allows for precise placement.
This method is ideal for inserting fields into an already populated form.
Changing Field Properties
Newly added fields have default labels and settings, which can be customised.
Clicking on a field in the preview section opens the Field Properties tab, where you can adjust labels, required fields, and other settings to fit your needs.
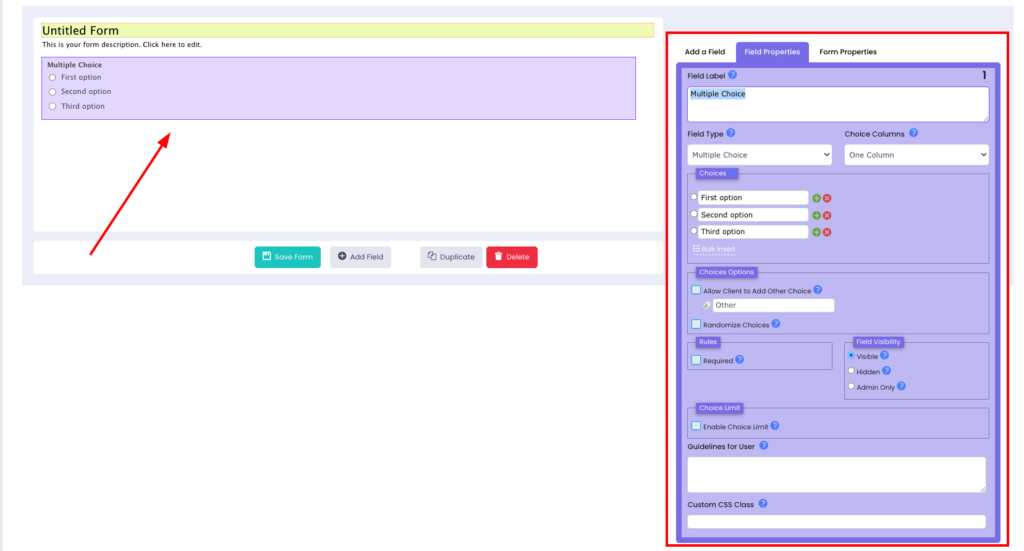
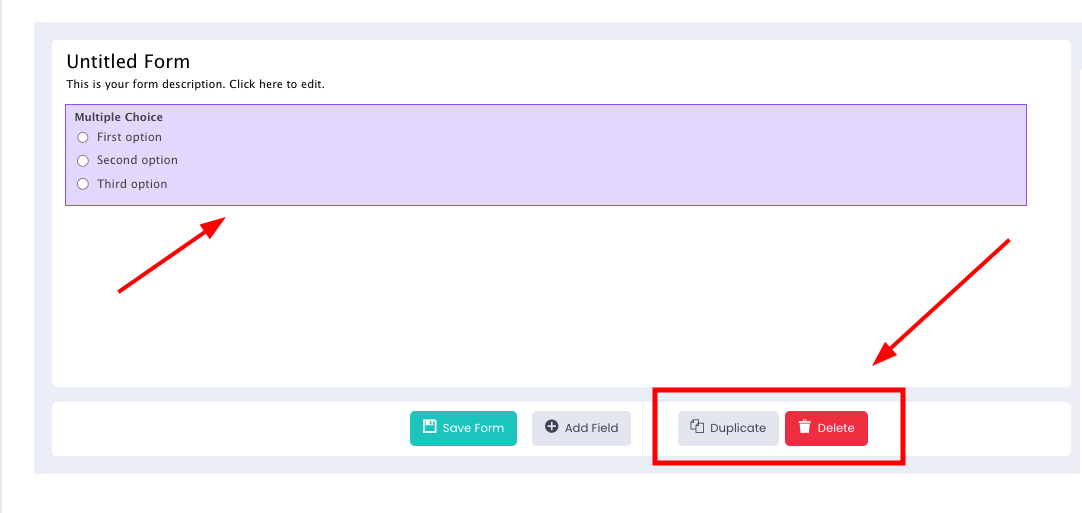
Duplicating & Deleting Fields
Fields can be duplicated or deleted directly from the preview section. Clicking on a field displays the Duplicate and Delete buttons. The duplicate feature creates an identical copy, while the delete option removes the field.
⚠️ Important: Deleting a field with existing data entries will permanently remove the associated data.
The form builder allows you to easily create and customise forms to suit your event needs. With options to add, rearrange, and manage fields, it streamlines data collection and delivers a seamless experience.