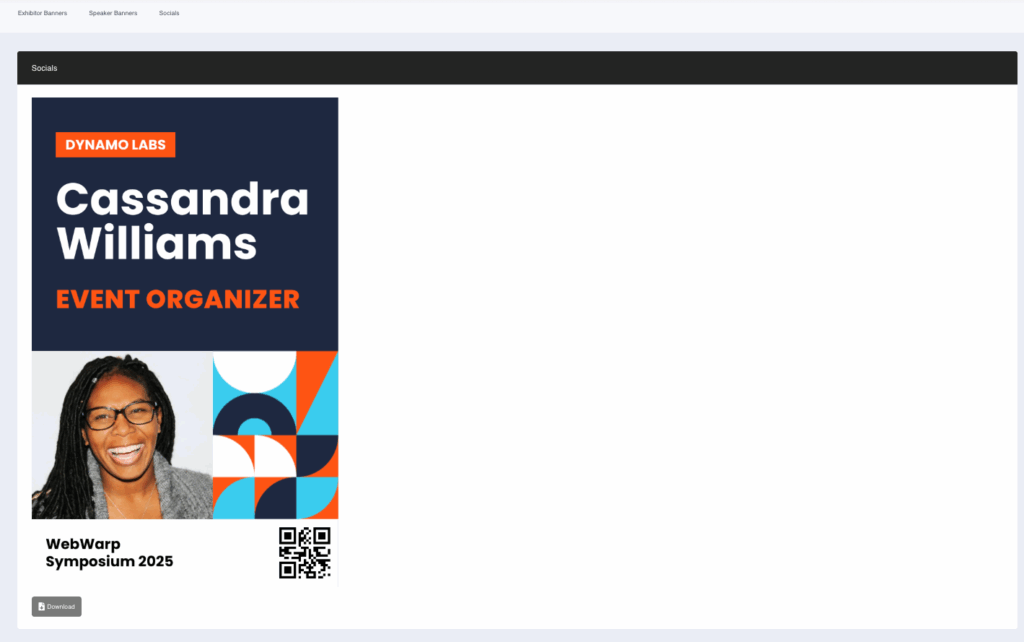
You can add a QR code to a custom banner and link it to a personalised URL that updates automatically for each user. The dynamic part of the URL can be based on any user field, such as a promo code or a custom field you have created.
How to add the QR Code
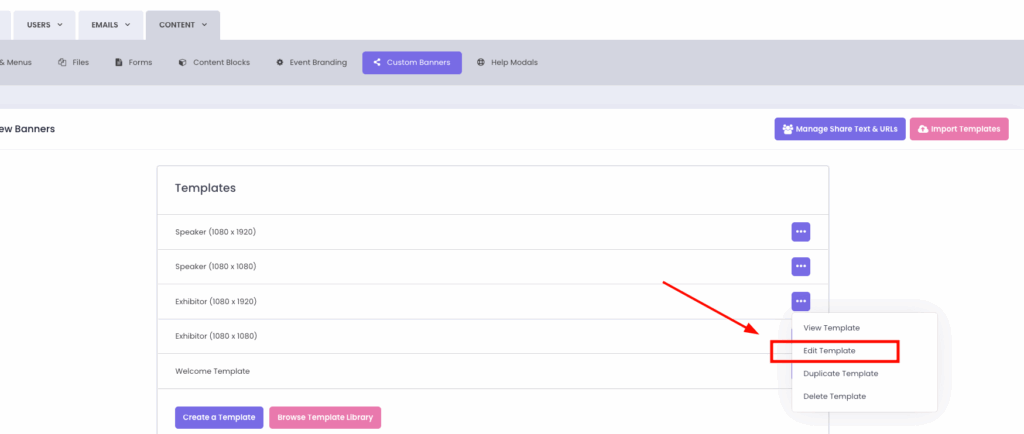
1. Go to the Banners section.
2. Click the banner you want to add the QR code to, then select Edit Template.
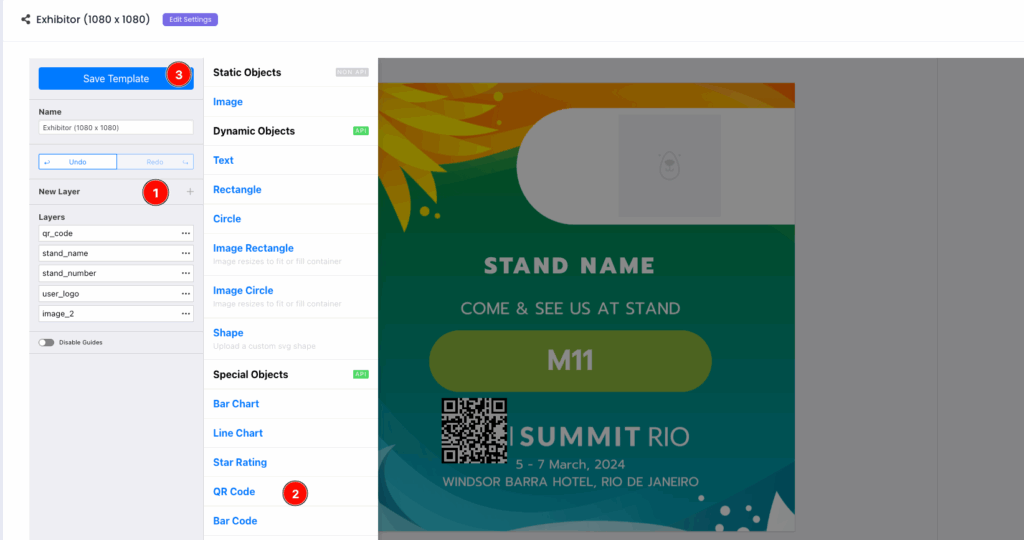
3. In the Template Editor, click Add Layer.
4. Choose QR Code from the layer options.
5. Click Save Template to confirm the changes.
Set the QR Code URL
1. After saving the template, click the Edit Settings button within the template editor.

2. In the QR Code URL field, enter the base URL and place a dynamic tag where the user’s field value should appear.
For example:
https://yourwebsite.com/registration/[promo_code]
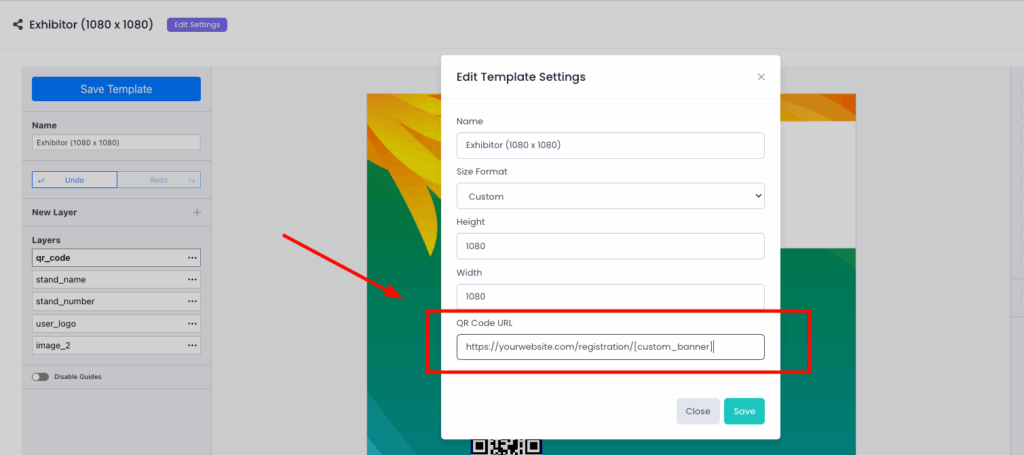
Make sure to place the field tag exactly where you want the user’s value to appear in the final URL. When the banner is generated, the system will automatically replace the tag with the correct value from that user’s profile.
3. Finally, click Save.
When users scan the QR code on their banner, they will be taken to a personalised URL, with the field tag in your link replaced by the actual value from that user’s details. This approach keeps the process dynamic, accurate, and tailored, without the need to create a separate banner for each user.