The Custom Banner feature allows you to design personalised banners and visuals for your event. By using dynamic tags, you can automatically display user-specific details, such as stand numbers, stand names, and company logos, ensuring exhibitors or users see a customised banner ready for sharing.
Benefits of Using Custom Banners with Dynamic Tags
• Automatic Personalisation: Dynamically display user-specific details without the need for manual edits, saving time and effort.
• Flexible Design Options: Customise your banner layout with text layers, image rectangles, or image circles to suit your design needs.
• Polished and Professional: Create clean, well-structured banners that align perfectly with your event branding.
• Ready to Use: Banners are automatically personalised and can be downloaded and shared instantly across any platform.
Understanding Dynamic Tags
Dynamic tags are placeholders that pull user details into your custom banners. These tags must be correctly set up in the Banner Editor to work as intended.
Where to Locate Dynamic Tags
To locate the available dynamic tags:
1. Go to Content → Pages & Menus → +New Page to open the Page Editor.
2. Locate the UserInfo tag in the editor.
3. Under the UserInfo tag, you will find: User Details (e.g., User Name) or Stand Details (e.g., Stand Name, Stand Number).
4. Click one of the options and the tag will automatically display in the editor.
5. Copy the tag as it appears in UPPERCASE (e.g., [STAND_NAME]).
Important: In the Banner Editor, tags must be renamed to lowercase.
| Page Editor (UPPERCASE) | Banner Editor (lowercase) |
| [STAND_NAME] | stand_name |
| [STAND_NUMBER] | stand_number |
| [USER_LOGO] | user_logo |
| [PROMO_CODE] | promo_code |
| [CUSTOM_Speaker-Time] | custom_speaker-time |
How to Add Dynamic Tags to Your Banner
This guide will show you step-by-step how to add and use dynamic tags in your custom banners.
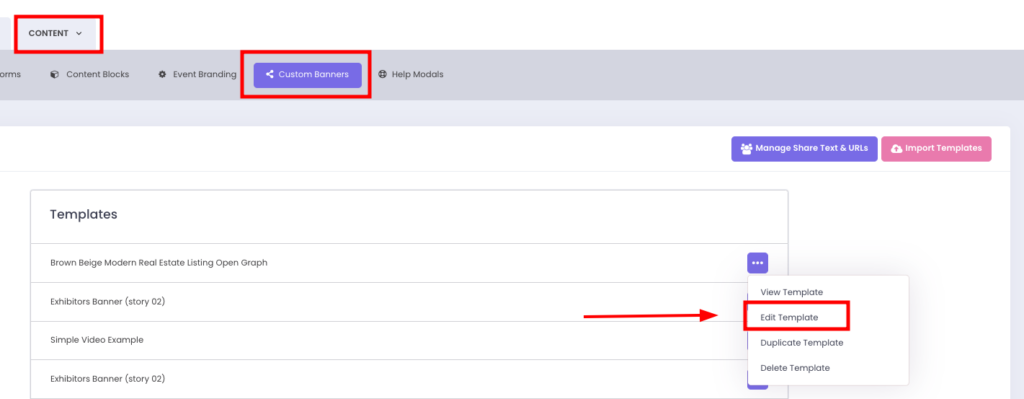
– Go to the Custom Banner and click “Edit Template”
Using a Text Layer to Add Dynamic Tags
To display stand name or stand number dynamically:
1. Click Add New Layer and choose Text.
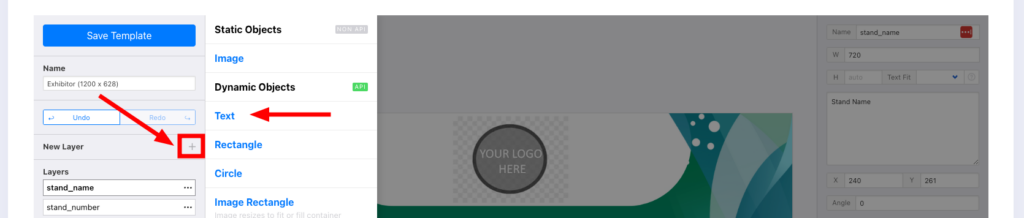
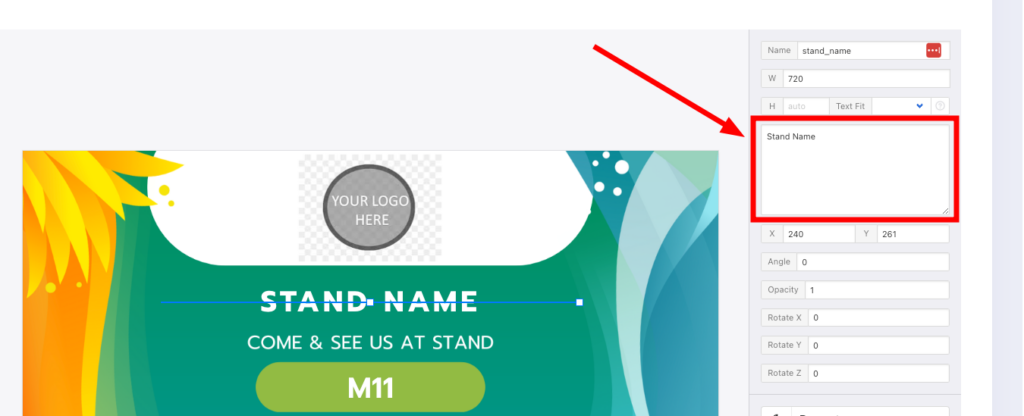
2. Rename the layer using the appropriate lowercase tag name:
• stand_name → Displays the exhibitor’s stand name.
• stand_number → Displays the stand number.
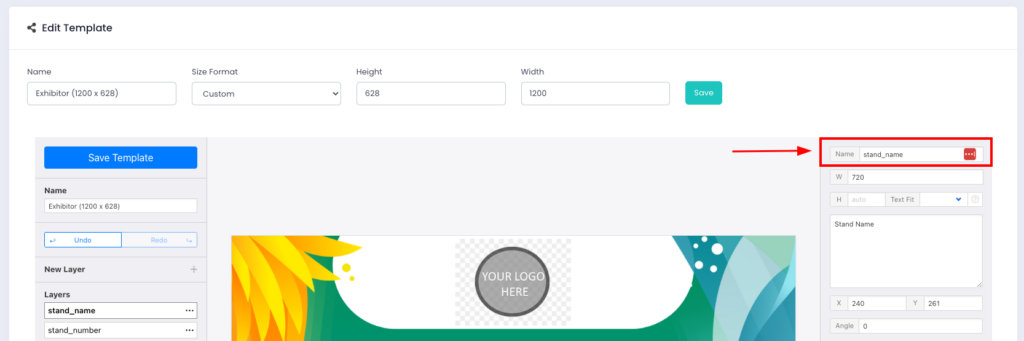
3. Add a Description for the Layer
• In the Layer Description Box, add a descriptive label (e.g., “Your Stand Name”) to help clarify what the tag represents in your design.
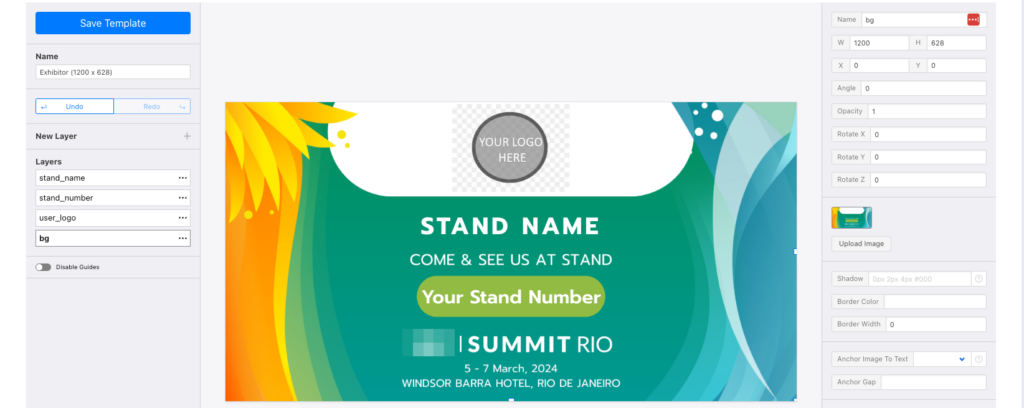
4. Position the text layer within your banner template according to your design.
• For example, place the stand name at the top centre, or the stand number at the bottom corner—wherever it fits best within the layout.
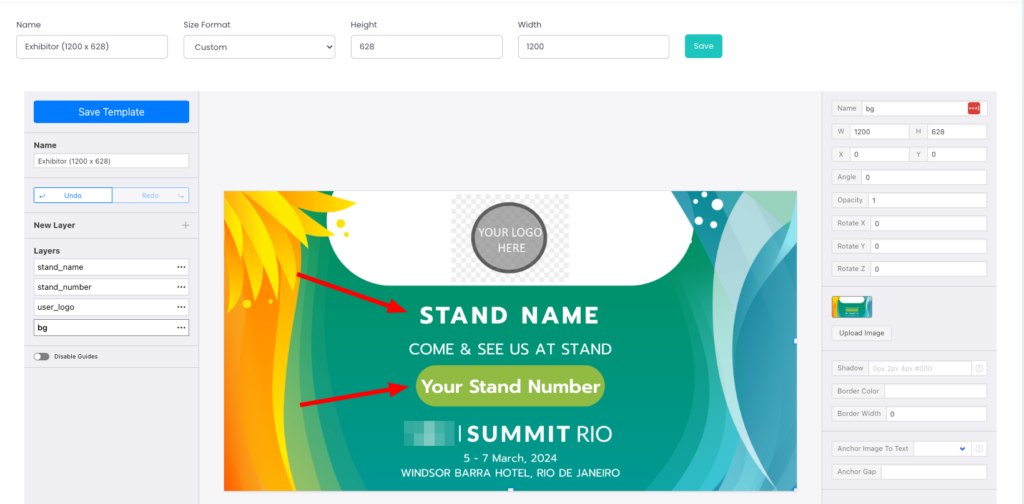
5. Save your changes.
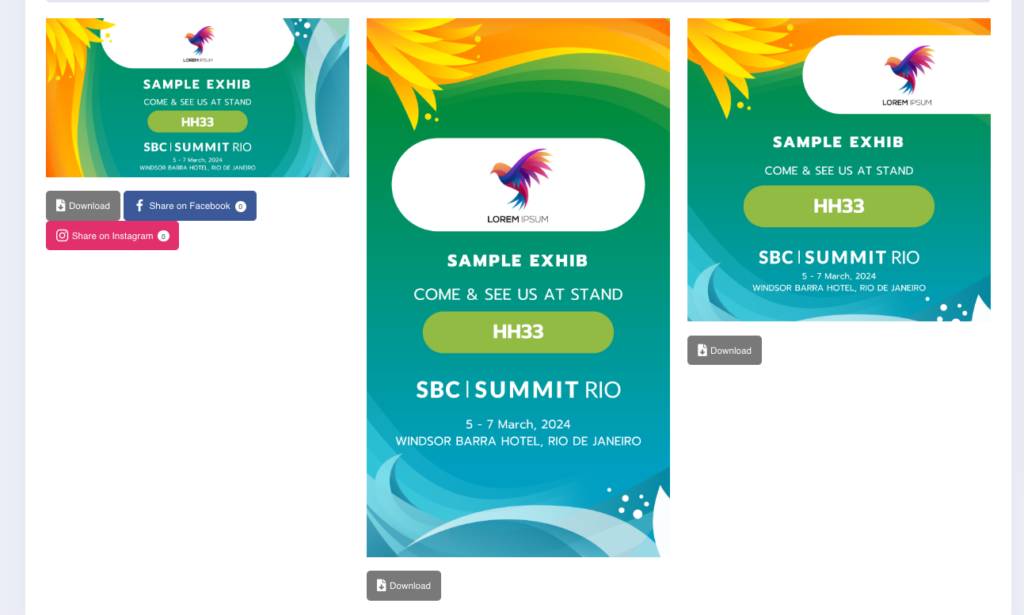
The banner will dynamically display the stand name or stand number specific to each user. As shown below:
Using an Image Layer to Add User Logos
To display the user’s company logo dynamically:
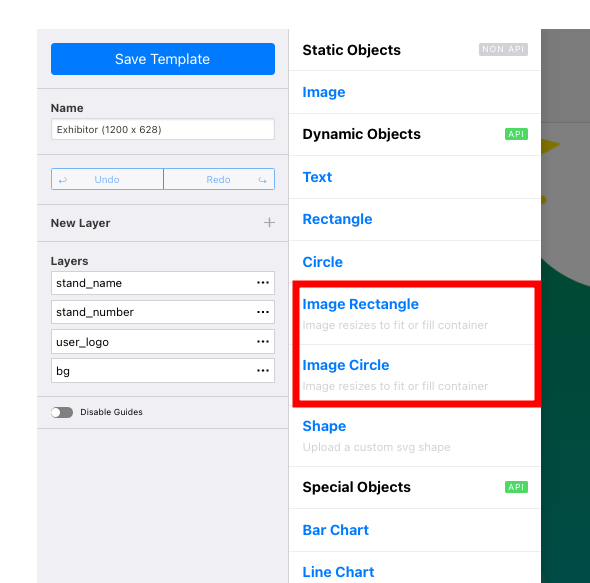
1. Click Add New Layer and choose one of the following options:
• Image Rectangle → Standard rectangular or square logo.
• Image Circle → Displays the logo in a circular format.
Tip: Choose the option that best fits your banner design.
2. Rename the image layer to user_logo.
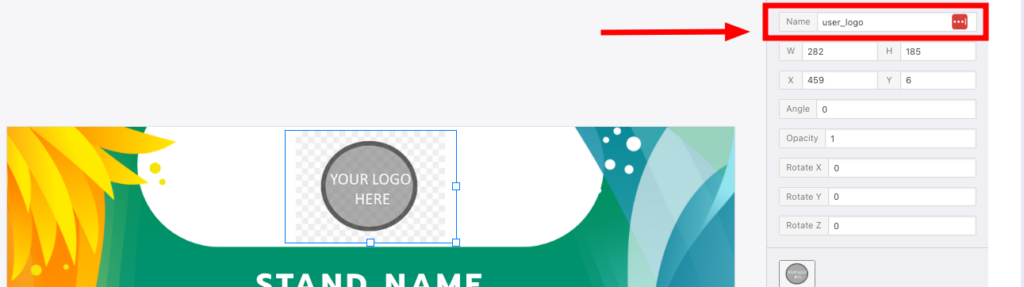
3. Position the Image Layer:
• Position the image layer where the company logo should appear in your banner.
4. You may use Smart Crop to ensure logos fit perfectly within the selected space.
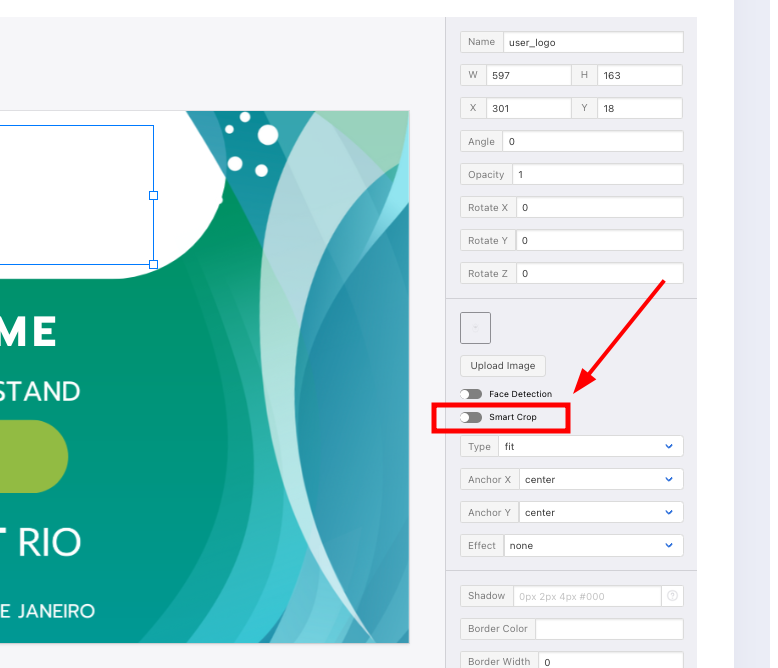
5. Save your changes.
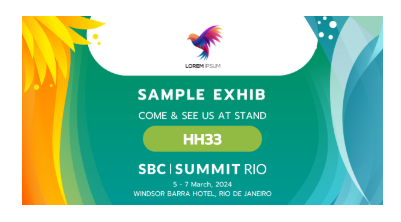
Result: The banner will dynamically display the user’s uploaded company logo. For example, an exhibitor will see their uploaded logo appear perfectly within a rectangular layer.
Using dynamic tags in custom banners allows you to personalise your event visuals seamlessly, ensuring a polished and professional design while streamlining the process. By correctly setting up and positioning your layers, you can dynamically display user-specific details like stand names, stand numbers, and logos. With these simple steps, your exhibitors can enjoy ready-to-use banners that align perfectly with your event’s branding.