Labels are a powerful way to organise and display forms efficiently within your event pages. By categorising forms with labels, you can group them based on their purpose or concept, making it easier to manage and display them in content blocks or pages.

Why Use Labels?
– Organisation: Labels help categorise forms, ensuring they are easy to find and manage.
– Custom Display: Forms with the same label can be grouped together and displayed in specific tables or sections of a page.
– Flexibility: Labels can align with your event’s structure or workflow, such as “Registration Forms” or “Compulsory Forms.”
Practical Application
Imagine you have several forms required for all users, such as registration forms or agreements. You could assign these forms a label like COMPULSORY. When adding forms to a page, use the FORM_YOURLABEL tag to display all forms associated with that label.
For example:
If your label is COMPULSORY, you can add the tag FORM_COMPULSORY to the page. This will automatically display all forms labelled COMPULSORY in one section or table.
How to Add Labels to Forms
1. Navigate to Content > Forms.
2. Select the form you want to label and click Edit.
3. Click the label icon on the right side of the form.

4. Enter a label that describes the form’s purpose (e.g., “COMPULSORY” or “EXHIBITOR”).
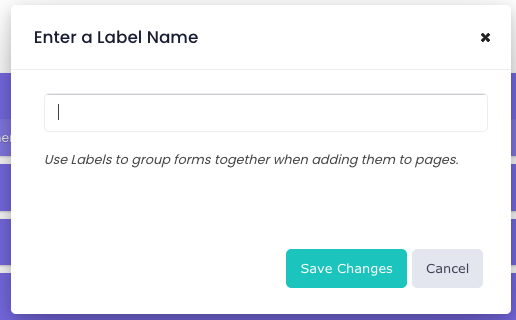
5. Save your changes.
Label Naming Best Practices:
To ensure optimal functionality and organization, consider the following recommendations when naming your labels:
• Use Descriptive Names: Choose clear and concise names that accurately reflect the form’s purpose or category. For example; COMPULSORY, EXHIBITOR, SPEAKER.
• Avoid Special Characters: Avoid using special characters in label names, as they can disrupt functionality when the label is used as a tag to display the form on event pages. If symbols are necessary, use only underscores (_) or hyphens (-).
• Maintain Consistency: Keep label names short and consistent across all forms to enhance organisation and ease of management.
By following these best practices, you can ensure that your forms are organised efficiently and remain user-friendly.
Note: The Compulsory Setting vs the Compulsory Label
Labelling a form as Compulsory does not affect how the form functions—it is purely a visual indicator for users. Here’s the difference between the Compulsory Setting and the Compulsory Label:
The Compulsory Setting
• This setting ensures the form is required within the system.
• Users must complete the form to meet specific requirements, such as; checklist completion.
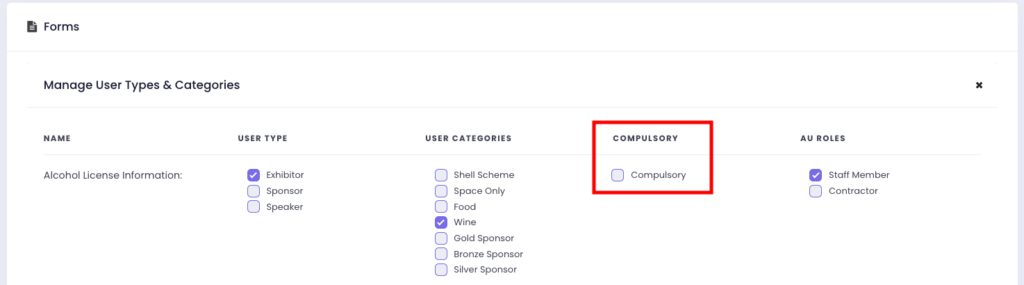
• You can manage this setting by:
– Clicking the Global Settings button on the Content > Forms page.
– Editing the form via the Form Properties tab.
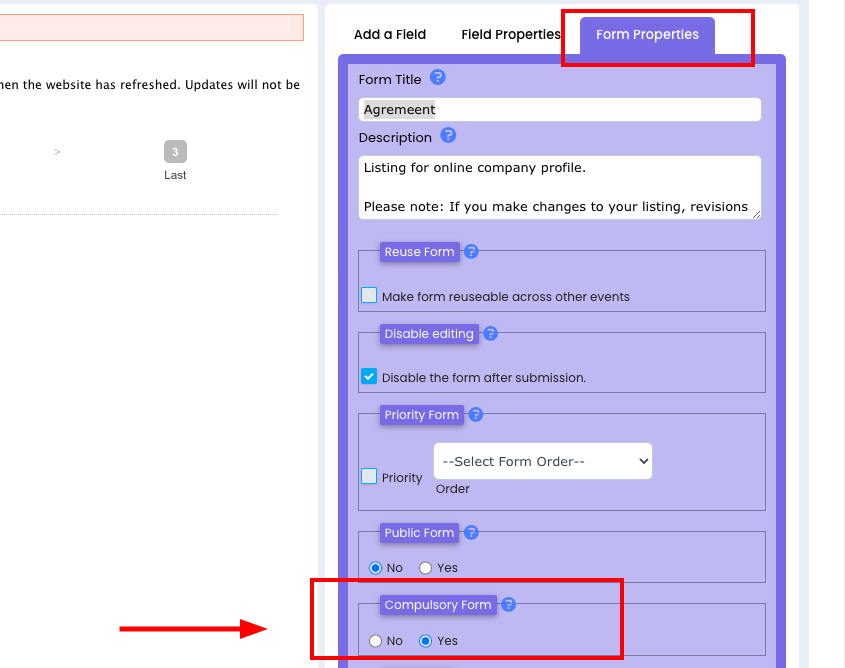
The Compulsory Label
If a form is labelled as Compulsory, this label will appear when the form is added to a page using a form tag.
Important: The label is purely visual and does not enforce the form’s compulsory status. It simply signals to users that the form is considered important.
To clarify:
• Adding a Compulsory Label does not affect the system’s functionality or make the form mandatory for completion.
• The enforcement of a form being compulsory depends entirely on the Compulsory Setting, not the label.