Multi-page forms make collecting large amounts of information easier by breaking the form into smaller sections.
Benefits of Multi-Page Forms
• Organising complex forms into logical sections.
• Keeping users engaged with shorter, manageable pages to improve completion rates.
• Focusing on specific topics on each page for clarity.
Steps to Create a Multi-Page Form
1. Access the Forms Section: Go to Content and select Forms.
2. Click Create Form or edit your current one.
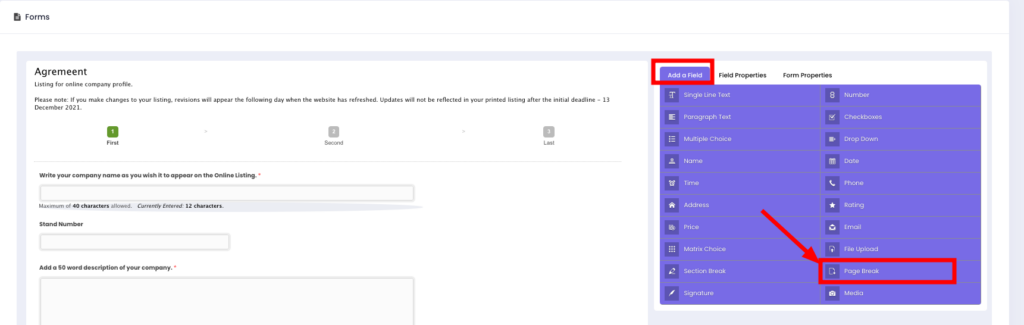
3. Add a new page:
– Drag the Page Break field into the form preview area to create a new page.
– Add or rearrange fields onto the newly created page.
Tip: Use page breaks to group related questions or topics on separate pages for better organisation.
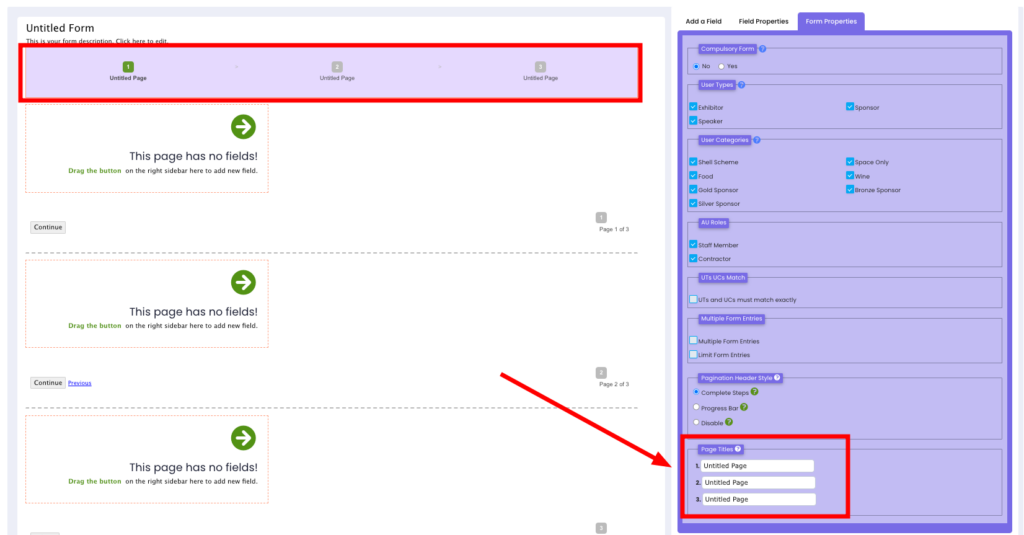
Customising Page Titles
1. Click on the Page Break in the form editor.
2. Go to Form Properties, and change the page titles.
Example: Change “Untitled Page” to “Basic Information” or “Payment Details.”
Pagination Header Style
When using multi-page forms, a pagination header will appear at the top of the form to indicate progress. This helps users understand how much of the form they’ve completed and how much remains. There are a few header styles you can choose from:
1. Completed Step: Displays all page titles along with page numbers.

2. Progress Bar: This shows a progress bar with a percentage and the current page title.

3. Disable: Removes the pagination header entirely.
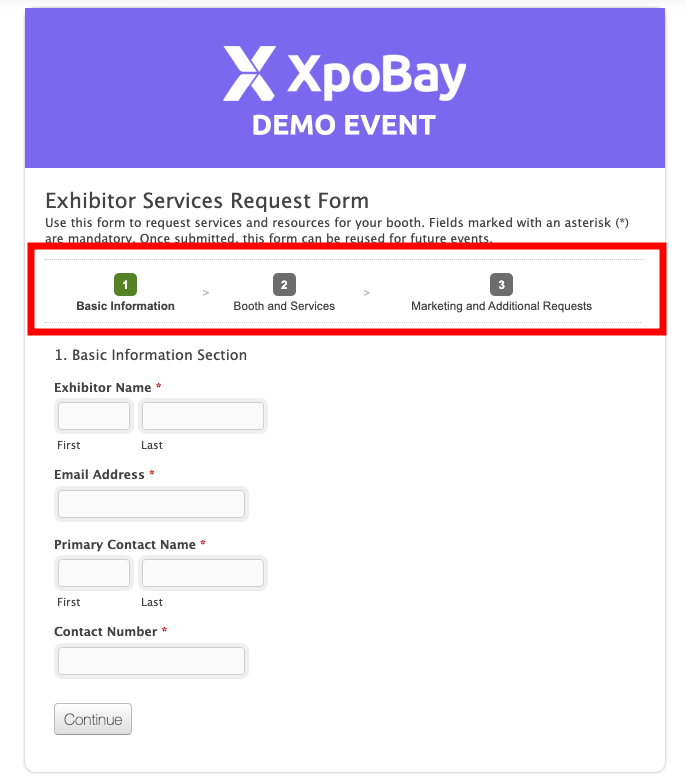
Below is an example of how a completed multi-page form looks. It demonstrates the pagination header, page transitions, and the overall user experience:
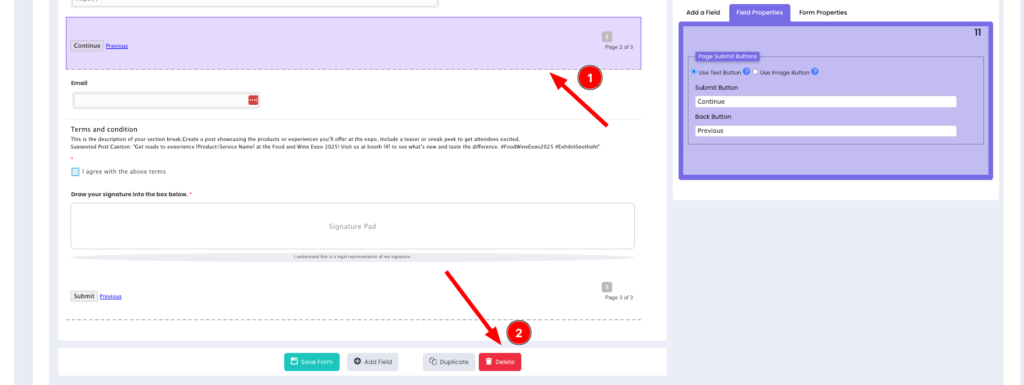
How to Remove a Page
– Select the Page Break you want to delete.
– Click the Delete icon (trash bin).
Tips for Multi-Page Forms
• Keep pages short: Avoid overwhelming users with too many fields on one page.
• Group-related fields: Organise questions by topic for clarity.
• Test before publishing: Ensure the form flows smoothly from page to page.
• Use clear page titles: Help users understand what to expect on each page.